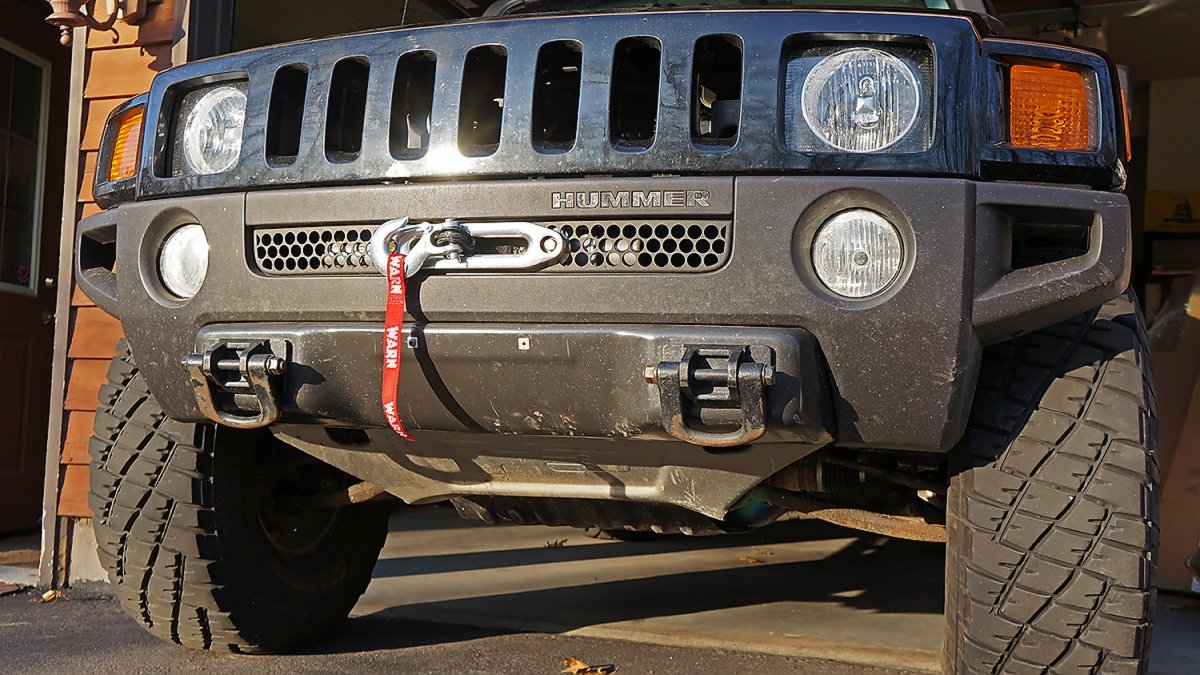
Our H3 & H3T Hummer Hidden Winch Mount offers a robust and discreet solution for integrating an 8,000 lb. to 12,000 lb. winch into your H3 or H3T Hummer. Engineered for durability, this mount is constructed from heavy-duty 3/8” steel and secured with four high-strength bolts (two 5/8” and two 3/4”) to ensure optimal performance and reliability. Designed for a seamless installation process, this product requires no permanent modifications to your Hummer. The majority of installation time is dedicated to relocating the control box solenoid. To optimize winch efficiency and safety, we recommend pairing this mount with an aluminum Hawse fairlead and synthetic rope. Our H3 & H3T Hummer Hidden Winch Mount is available for immediate shipment.
Winch Compatibility and Installation
What winch models are compatible with the H3 Hummer Hidden Winch Mount? Due to the diverse range of winch models available, we cannot guarantee compatibility for every product. Our mount is designed to accommodate winches with dimensions similar to the Warn M-8000s (21.04″ x 7.6″ x 6.3″). Winches exceeding these dimensions may not fit. We recommend choosing a winch with comparable measurements and a remotely mountable controller.
Does this winch mount fit the H3T? Yes, our winch mount is compatible with both the H3 and H3T models.
Are there any permanent modifications required for installation? No permanent modifications are necessary to install our H3 Hummer Hidden Winch Mount.
Is a synthetic line required? While not strictly required, we strongly recommend using a synthetic line with an aluminum Hawse fairlead for optimal performance and safety.
What is the bolt size for the Hawse Fairlead? The Hawse Fairlead bolt size is 7/16-inch by 1-inch coarse thread.
How long does installation typically take? With a qualified installer, the installation process usually takes 3-4 hours.
Installation
In late 2015, we collaborated with a customer to successfully install our H3 Hummer Hidden Winch Mount. The customer provided the mount and a Warn VR-8000 Synthetic Winch, while we offered technical expertise and tools. The installation process was completed in approximately five hours, with brief interruptions to acquire the necessary components. To optimize the winch’s accessibility and functionality, a clutch adjustment was required, necessitating the use of a specialized T-25 Torx bit. This collaborative effort resulted in a successful installation and a satisfied customer.
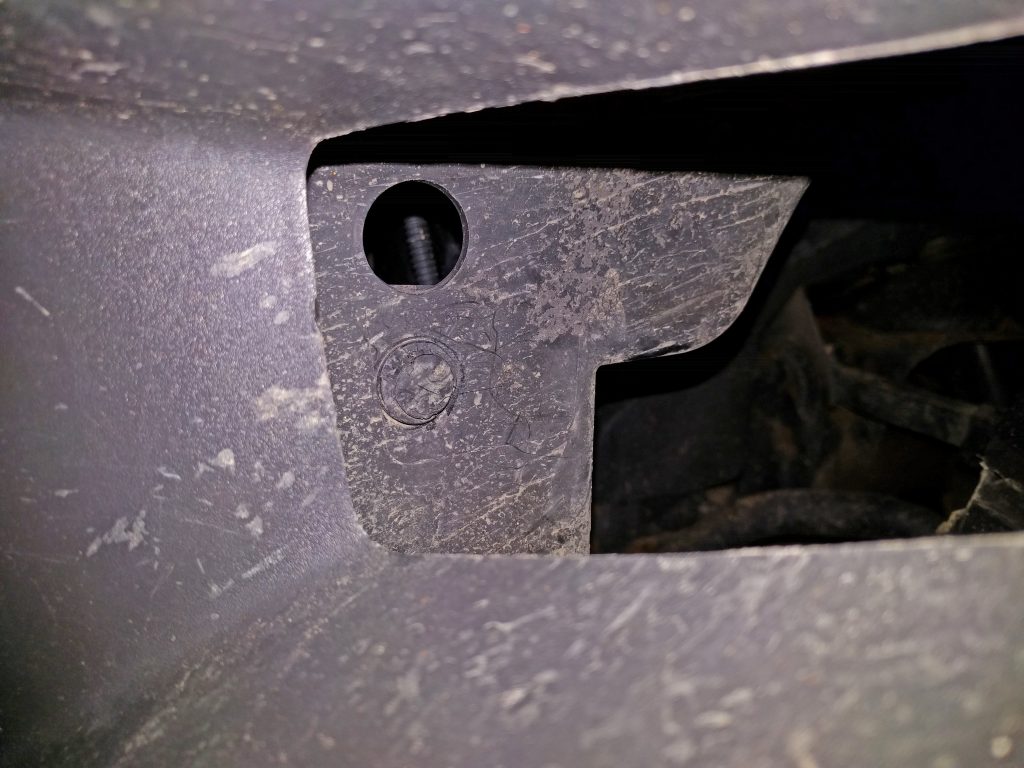
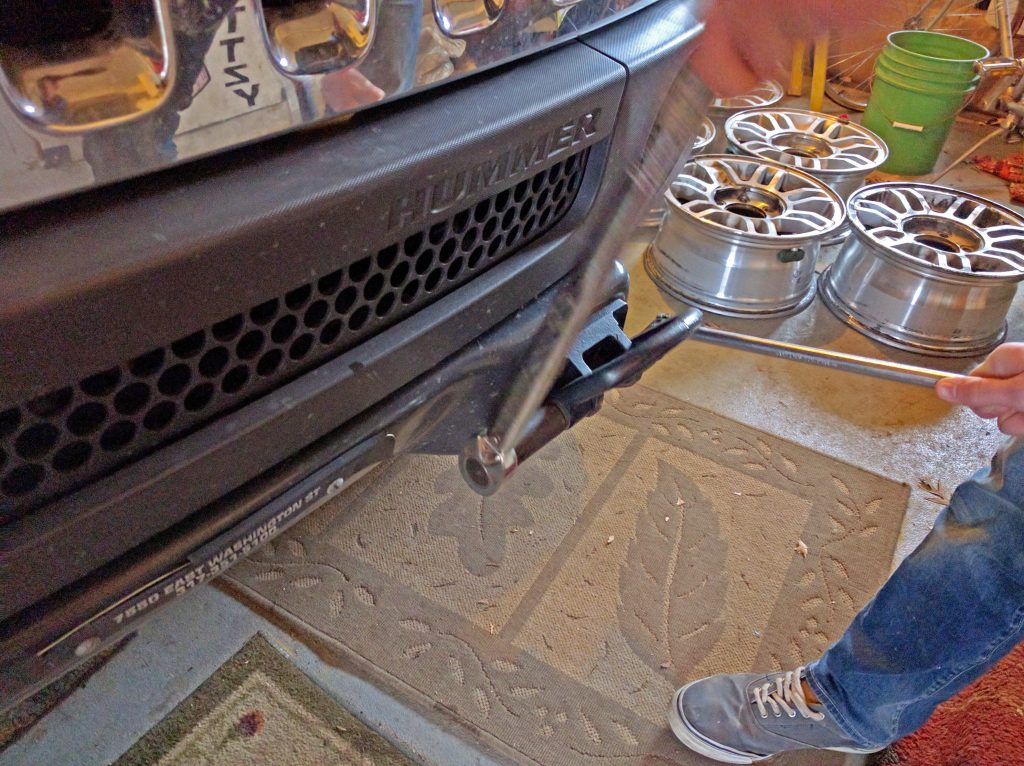
Initiation of the installation process involved removing two bolts from the interior of each fender.
Please note that there are plastic clips located just above the two bolts on each side of the winch mount. These clips must also be removed prior to installation.
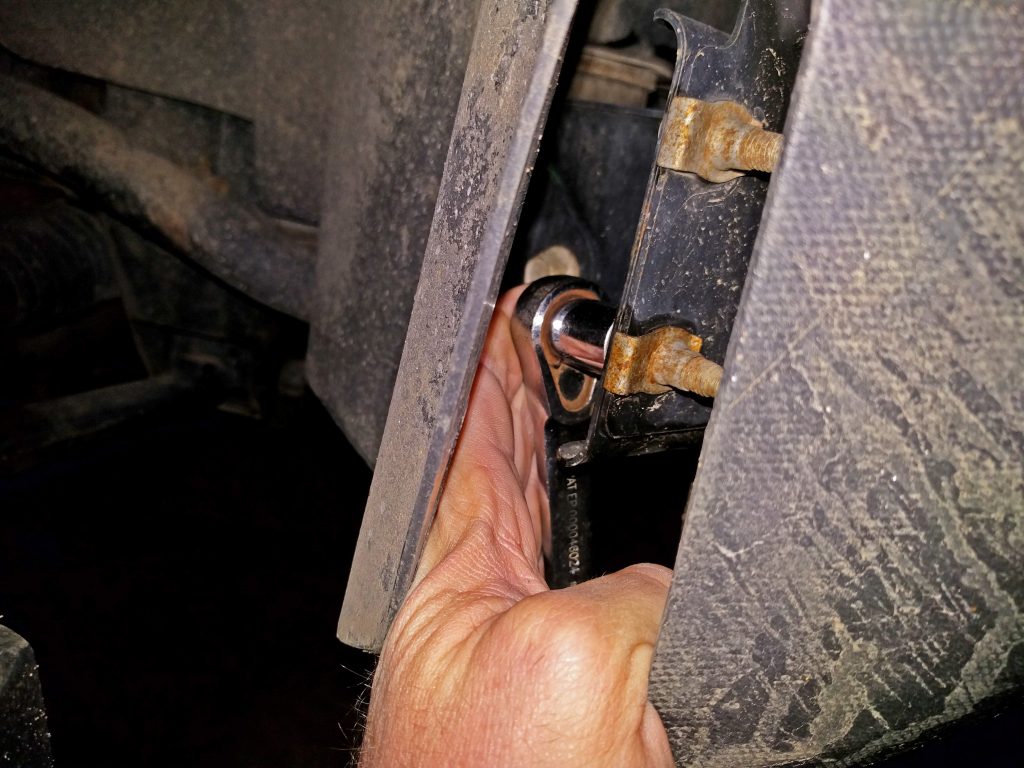
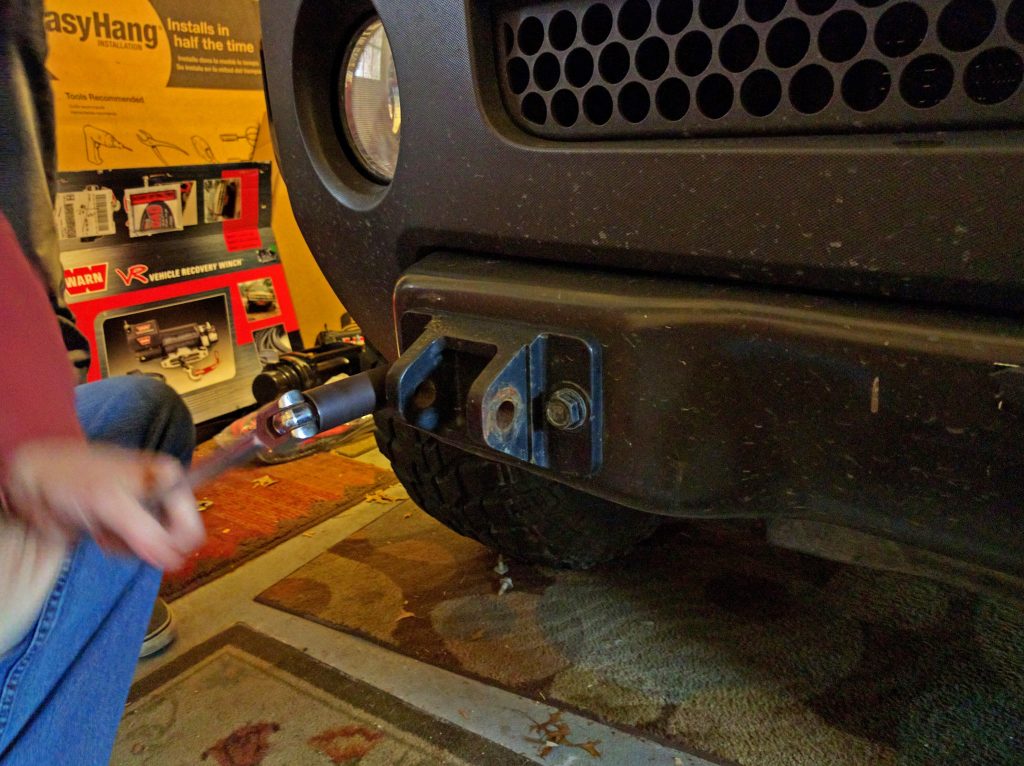
Next, the shackles are removed.
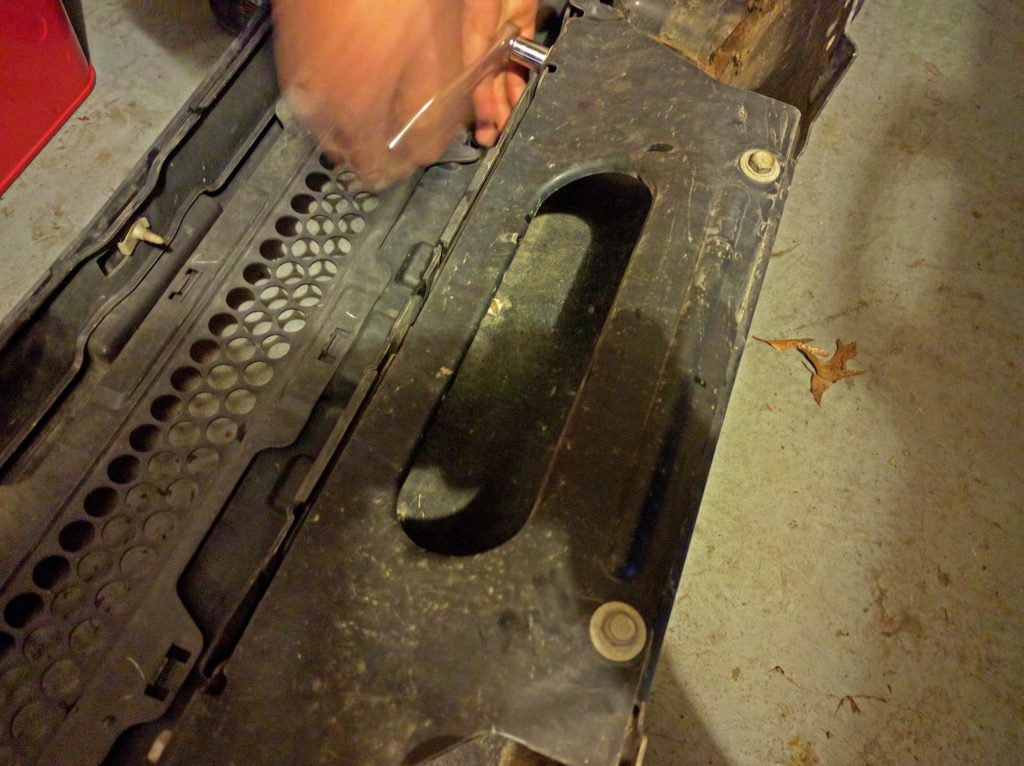
Secure the bumper by reattaching the final four bolts. The central Torx bit does not require removal.
To remove the bumper, lift it upward and then slide it forward.
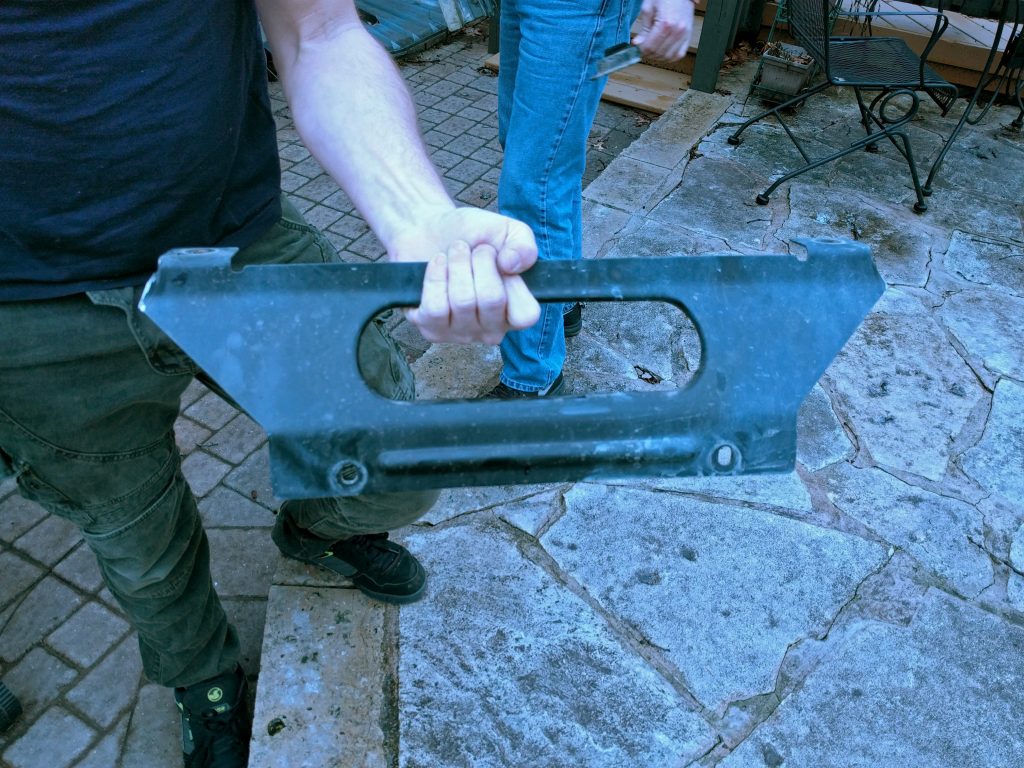
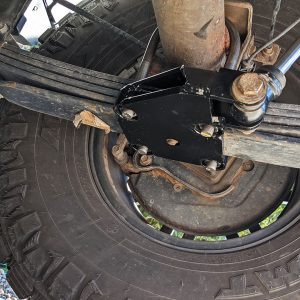
While not mandatory, the reinforcing supporting the bumper is an optional modification that some customers choose to implement. Based on our observations, we recommend this enhancement for added structural integrity.
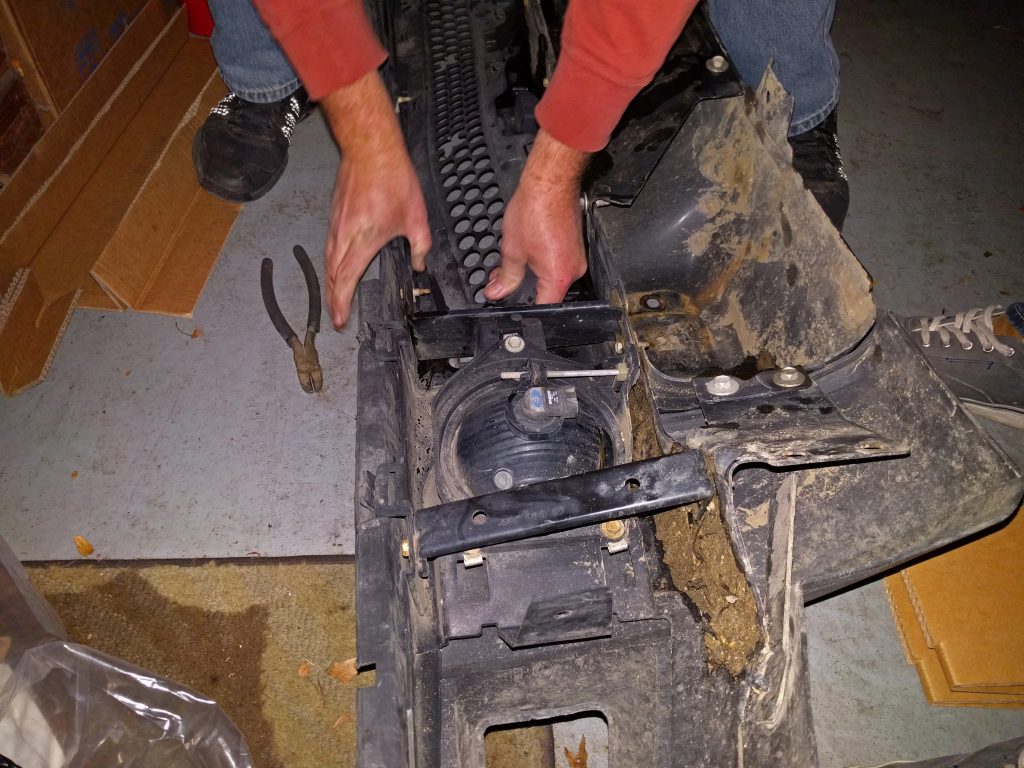
The image depicts the modified bumper support.
Securing the modified support to the bumper.
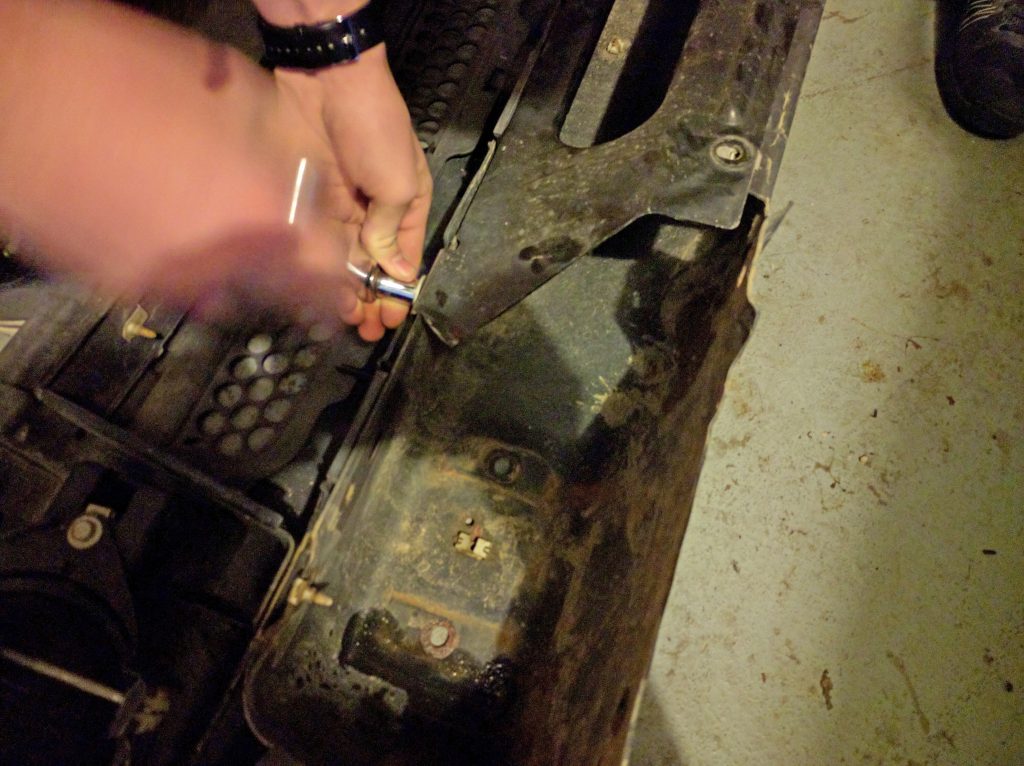
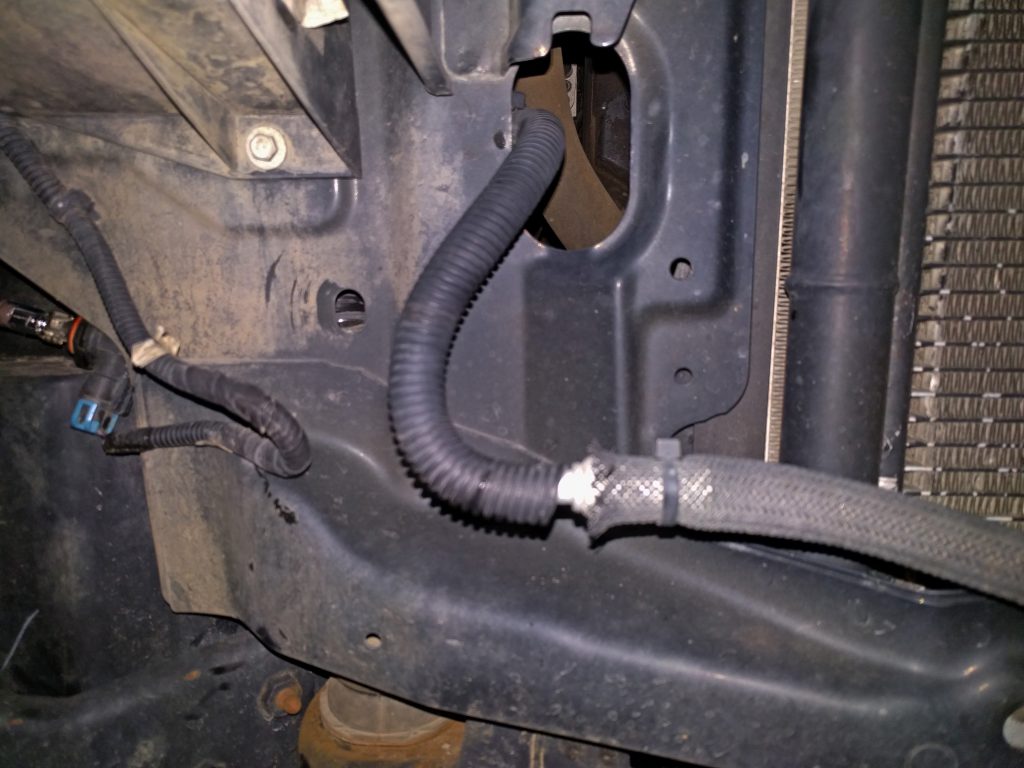
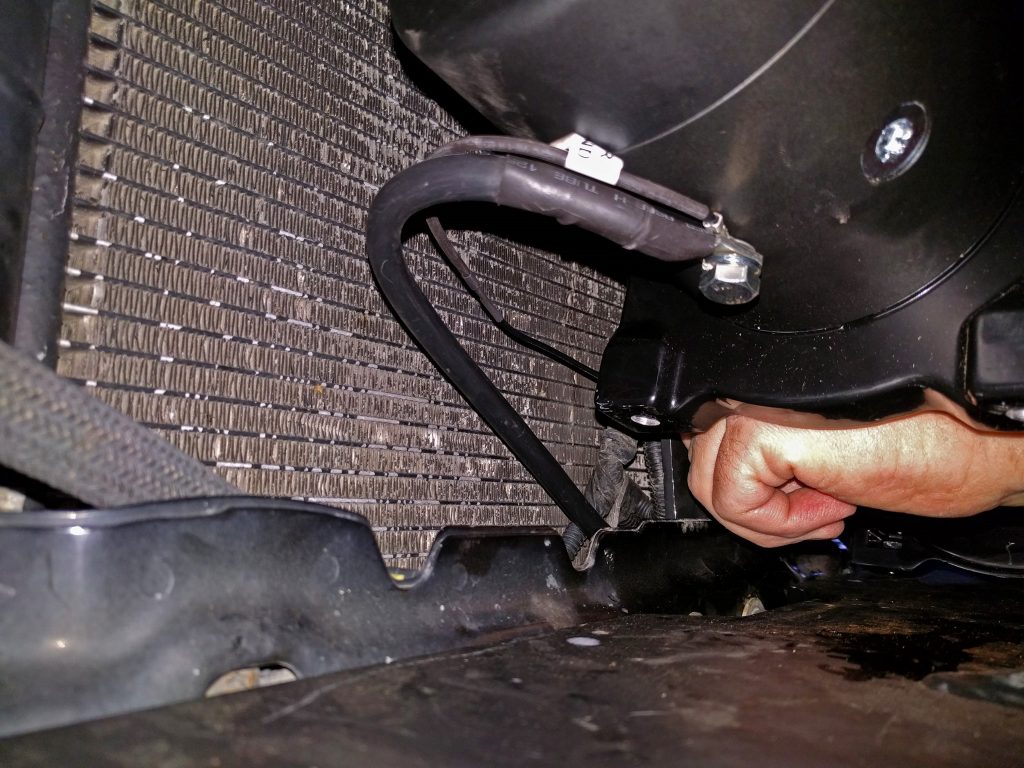
To ensure adequate clearance for the winch, a slight adjustment was made to the position of the A/C line. This modification was carefully performed to avoid damaging the line or compromising the vehicle’s air conditioning system.
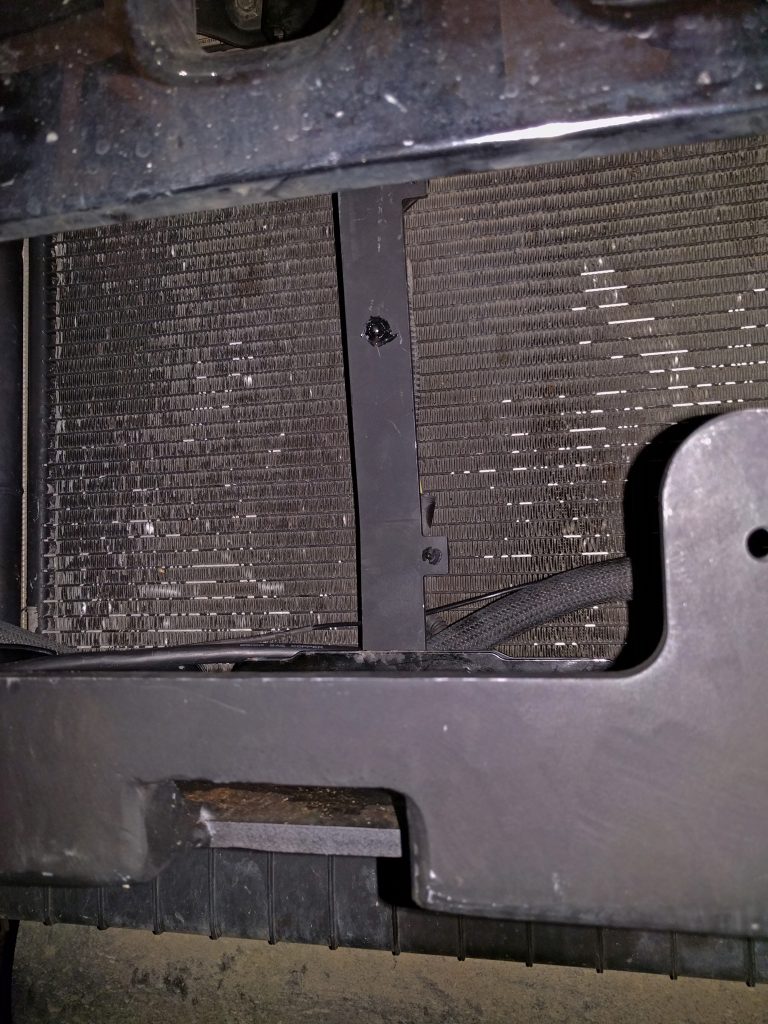
We got excited, bThe subsequent step involves installing the new radiator support, which provides the essential clearance for the winch. The lower section of the radiator support is secured using the two included bolts on the rear side.
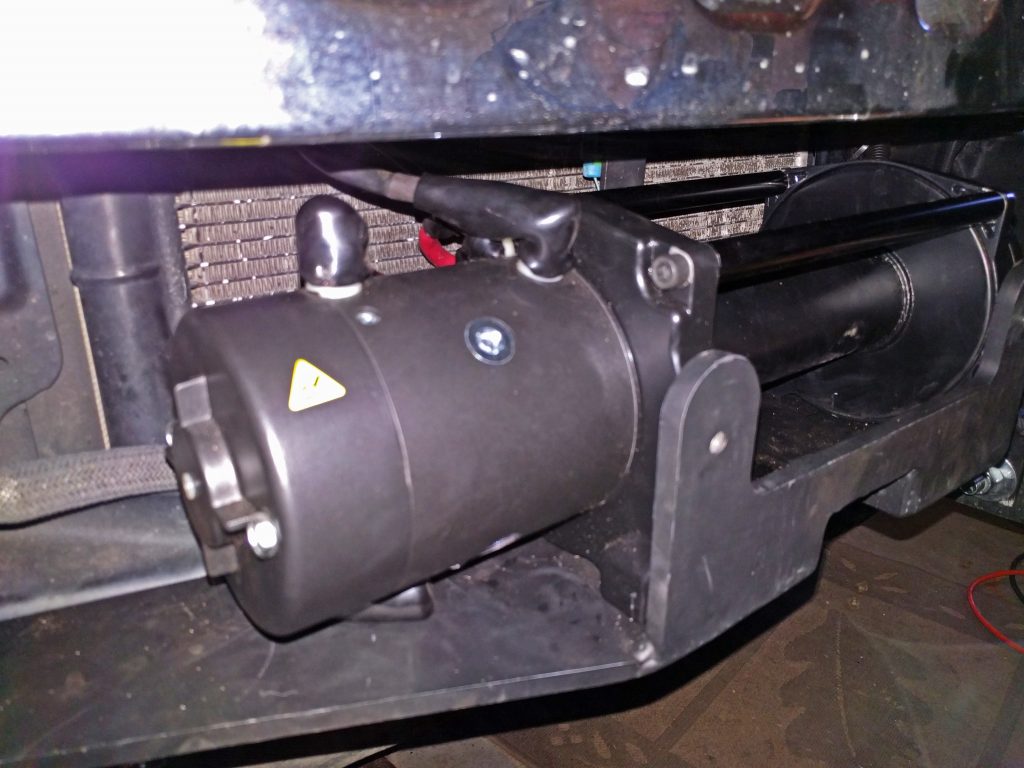
Securing the winch to the frame with four high-strength bolts.
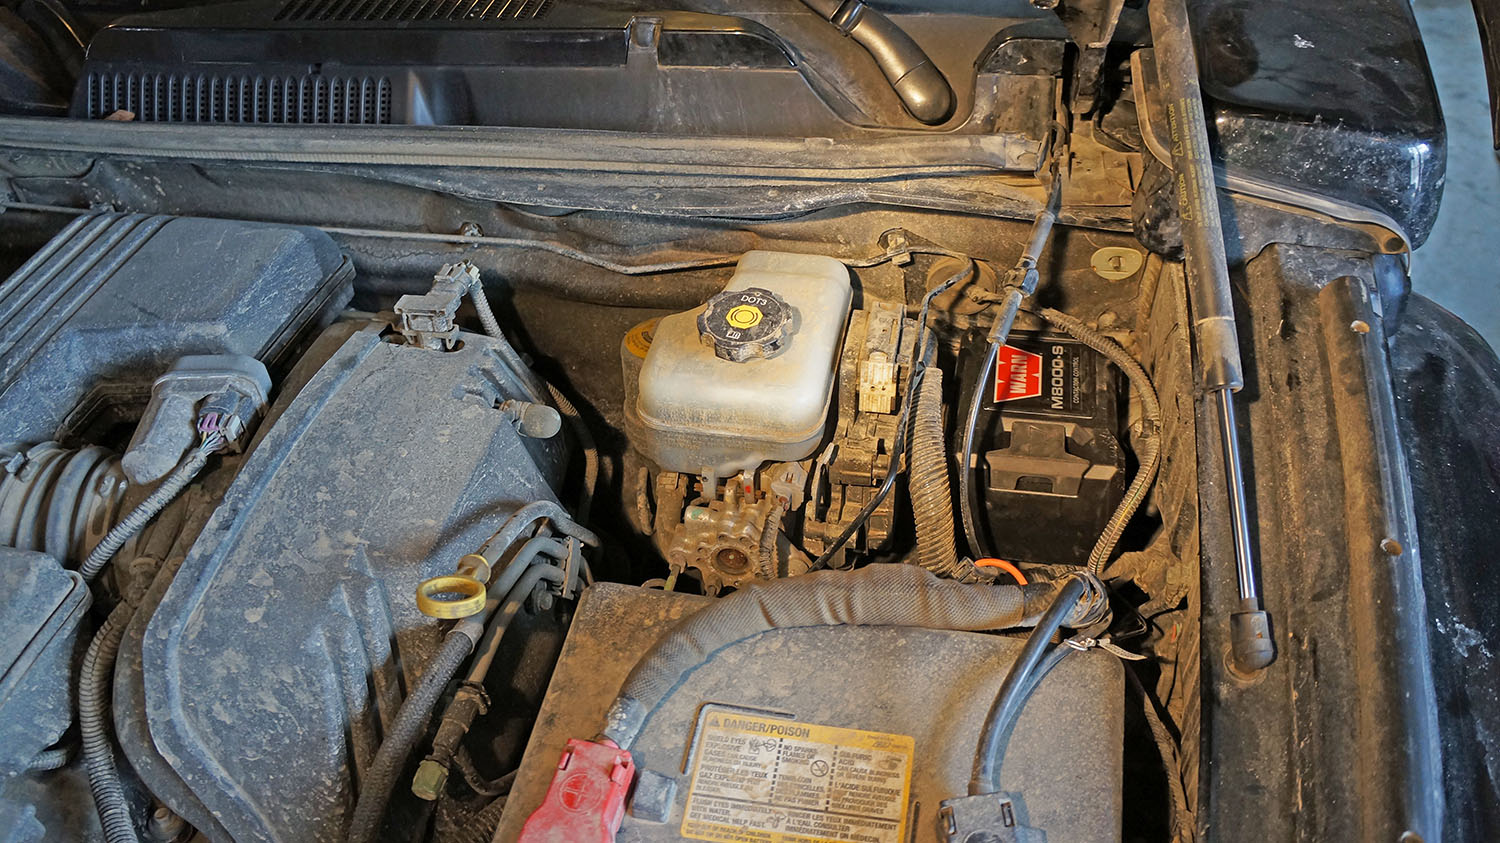
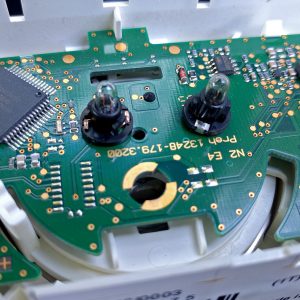
The winch has been relocated to a position directly behind the battery. To accommodate this change, we have extended the wiring harness using new, heavier-gauge 4-gauge cables.
Prior to securing the winch to the mount, it is imperative to establish a secure connection for the grounding wire. This essential step ensures optimal electrical performance and safety.
Upon completion of the wiring harness, with the final three connections secured to the winch, the unit is ready for operation.
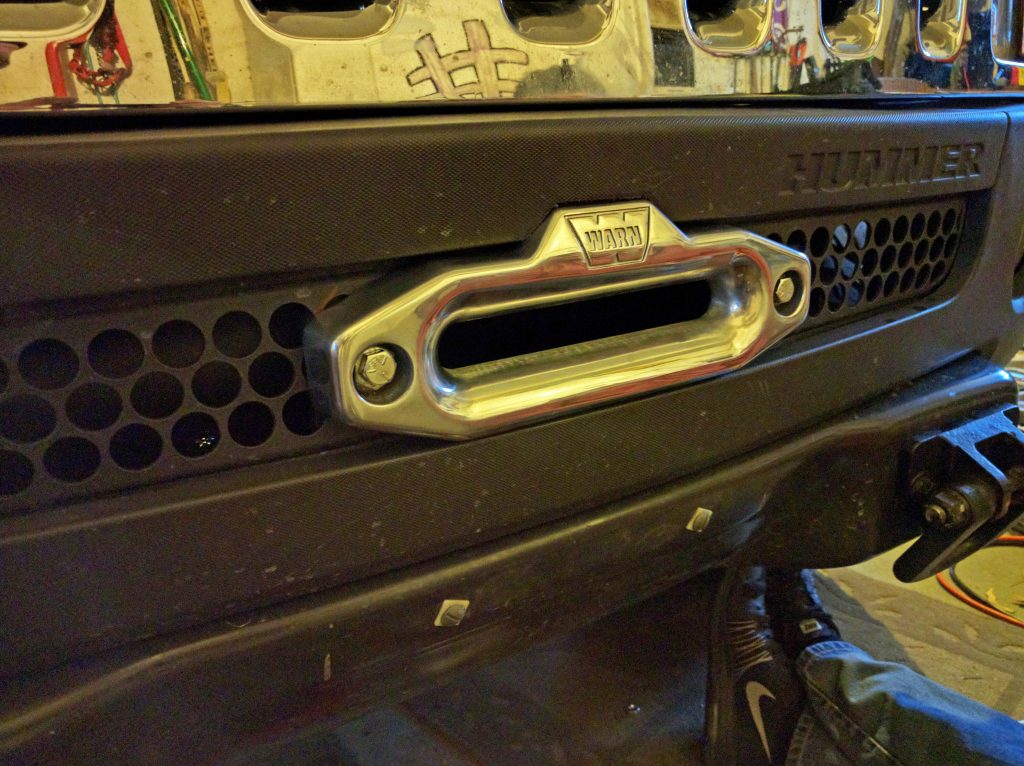
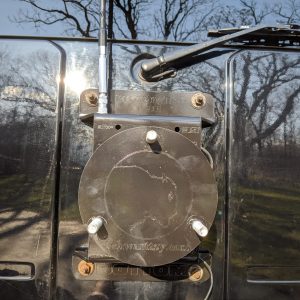
Following winch and wiring installation, the factory bumper is reinstalled. The Hawse Fairlead’s position is marked on the bumper insert to facilitate a precise cutout. This cutout is essential to ensure unobstructed operation of the Warn Winch. We have completed the marking process and are currently removing the bumper insert.
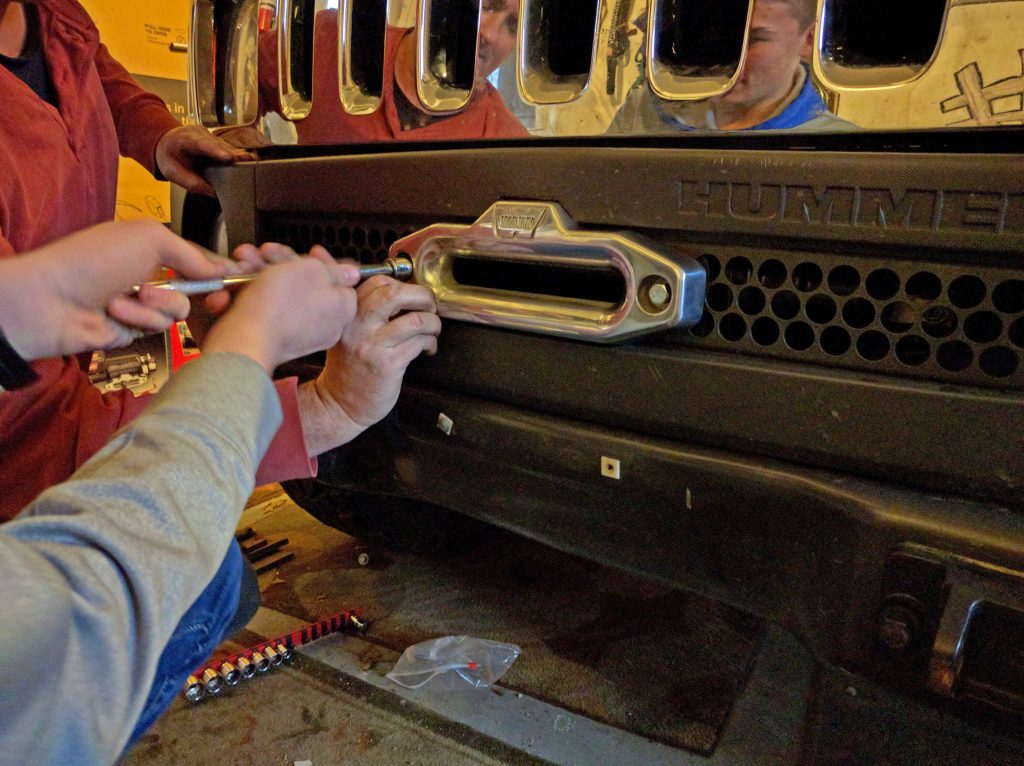
The final step in the installation process involved marking and cutting the bumper for the Hawse Fairlead. After marking the necessary cuts, the bumper was removed and the plastic was cut to accommodate the Hawse Fairlead. The photo below shows the final bolt being tightened before completion.
This comprehensive guide outlines the essential steps involved in installing our H3 Hummer Hidden Winch Mount. By following these instructions and addressing potential challenges, you can successfully integrate a winch into your H3 or H3T Hummer.