Description
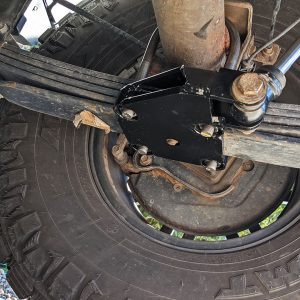
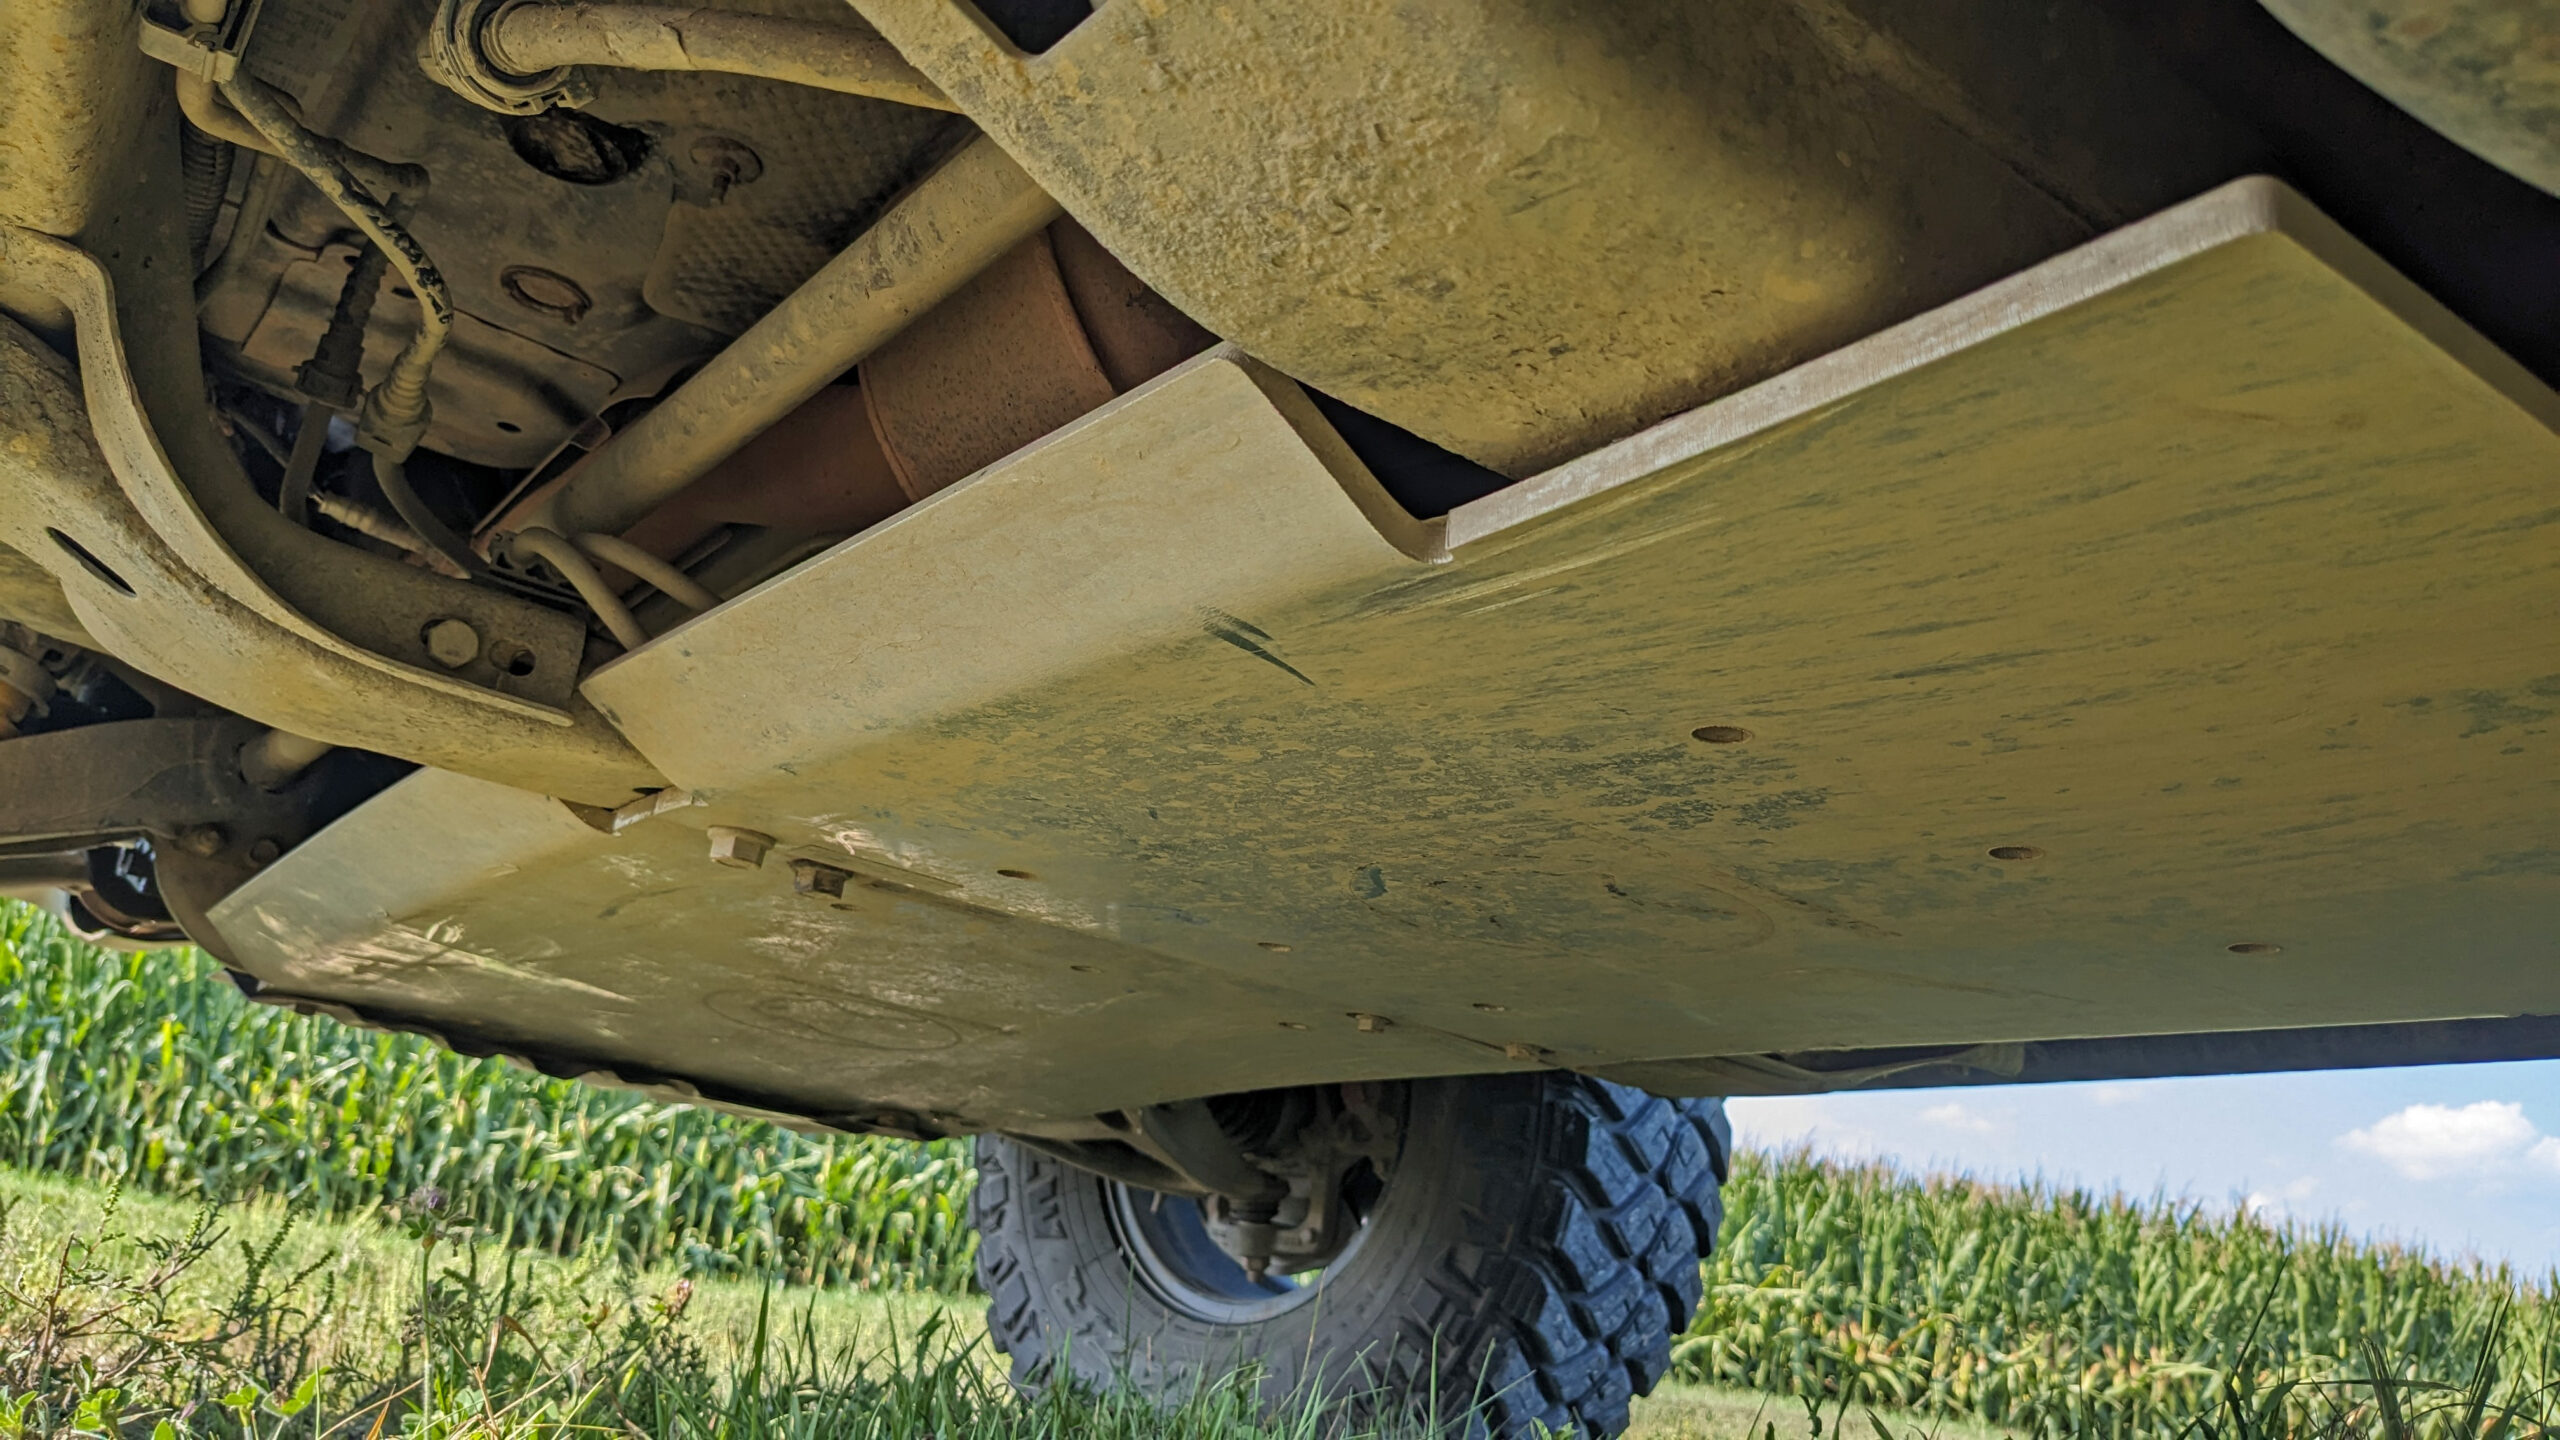
Elevate your off-road adventures with Schwarttzy’s H3 Hummer aluminum skid plates, the ultimate armor for your vehicle’s underbelly. Crafted from premium 3/8-inch-thick aluminum, these skid plates provide unparalleled protection against rocks, logs, and other trail hazards, safeguarding your vital components from damage and ensuring your Hummer conquers any terrain confidently.
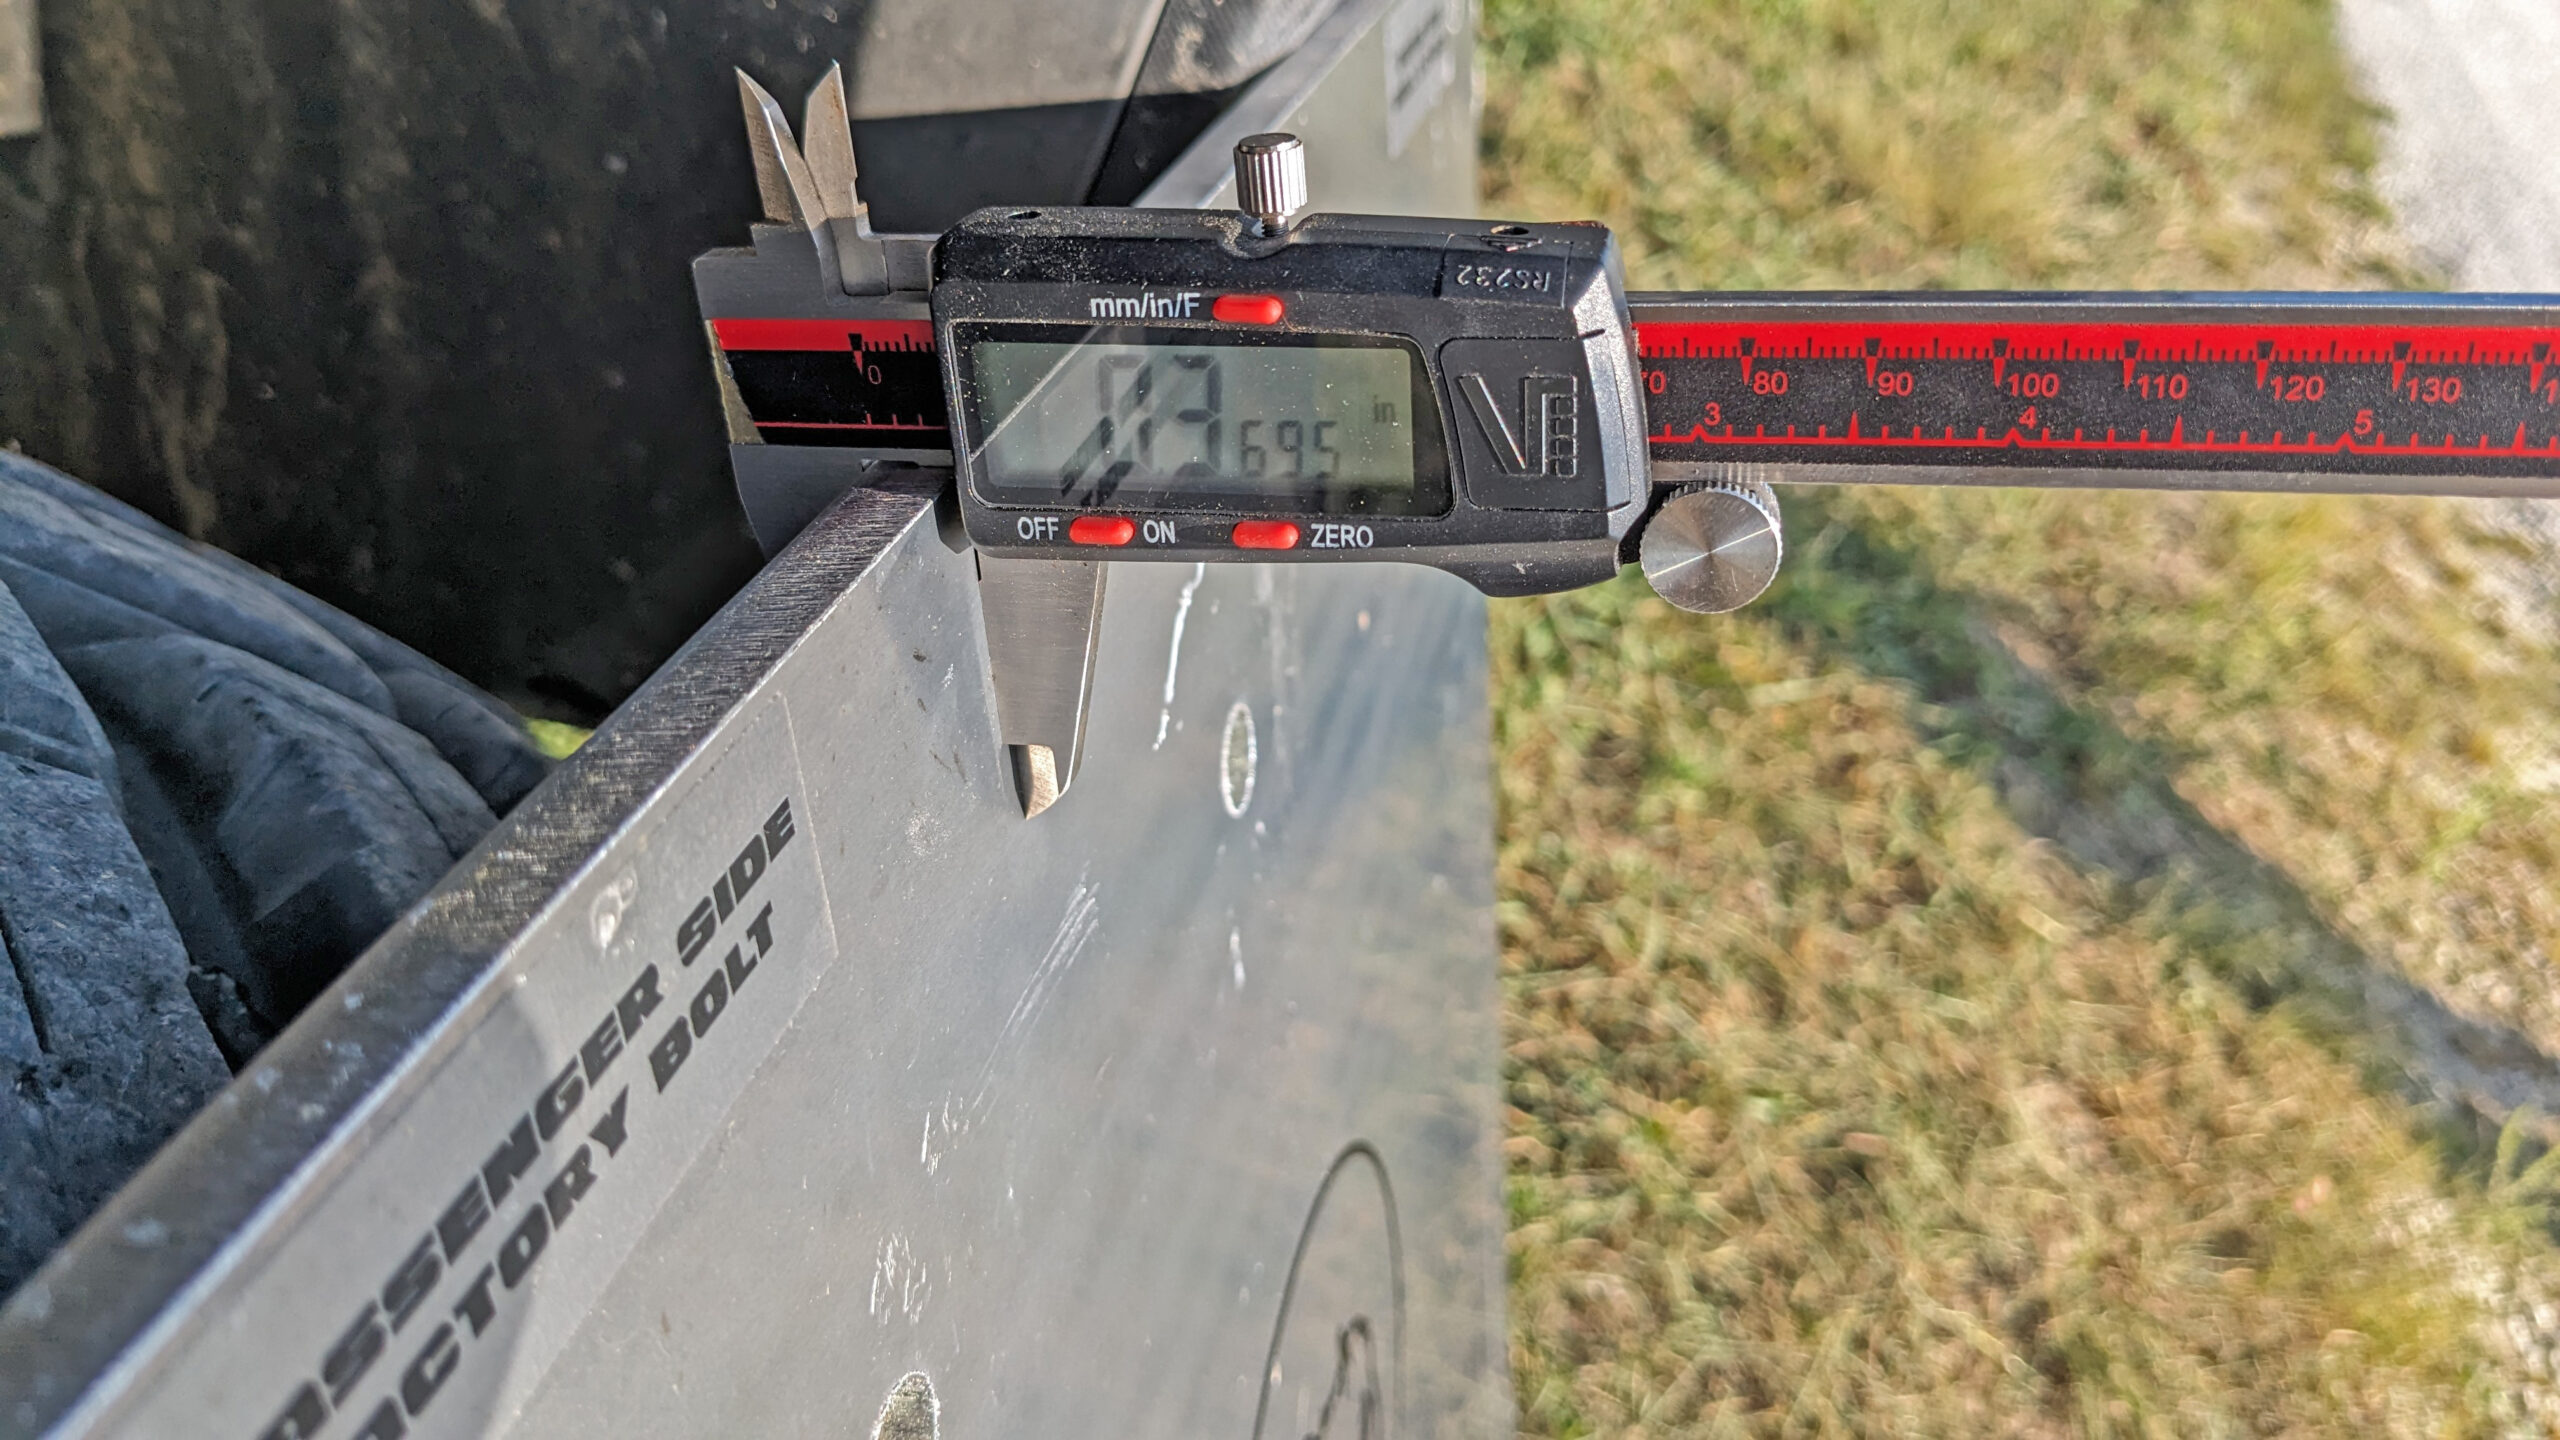
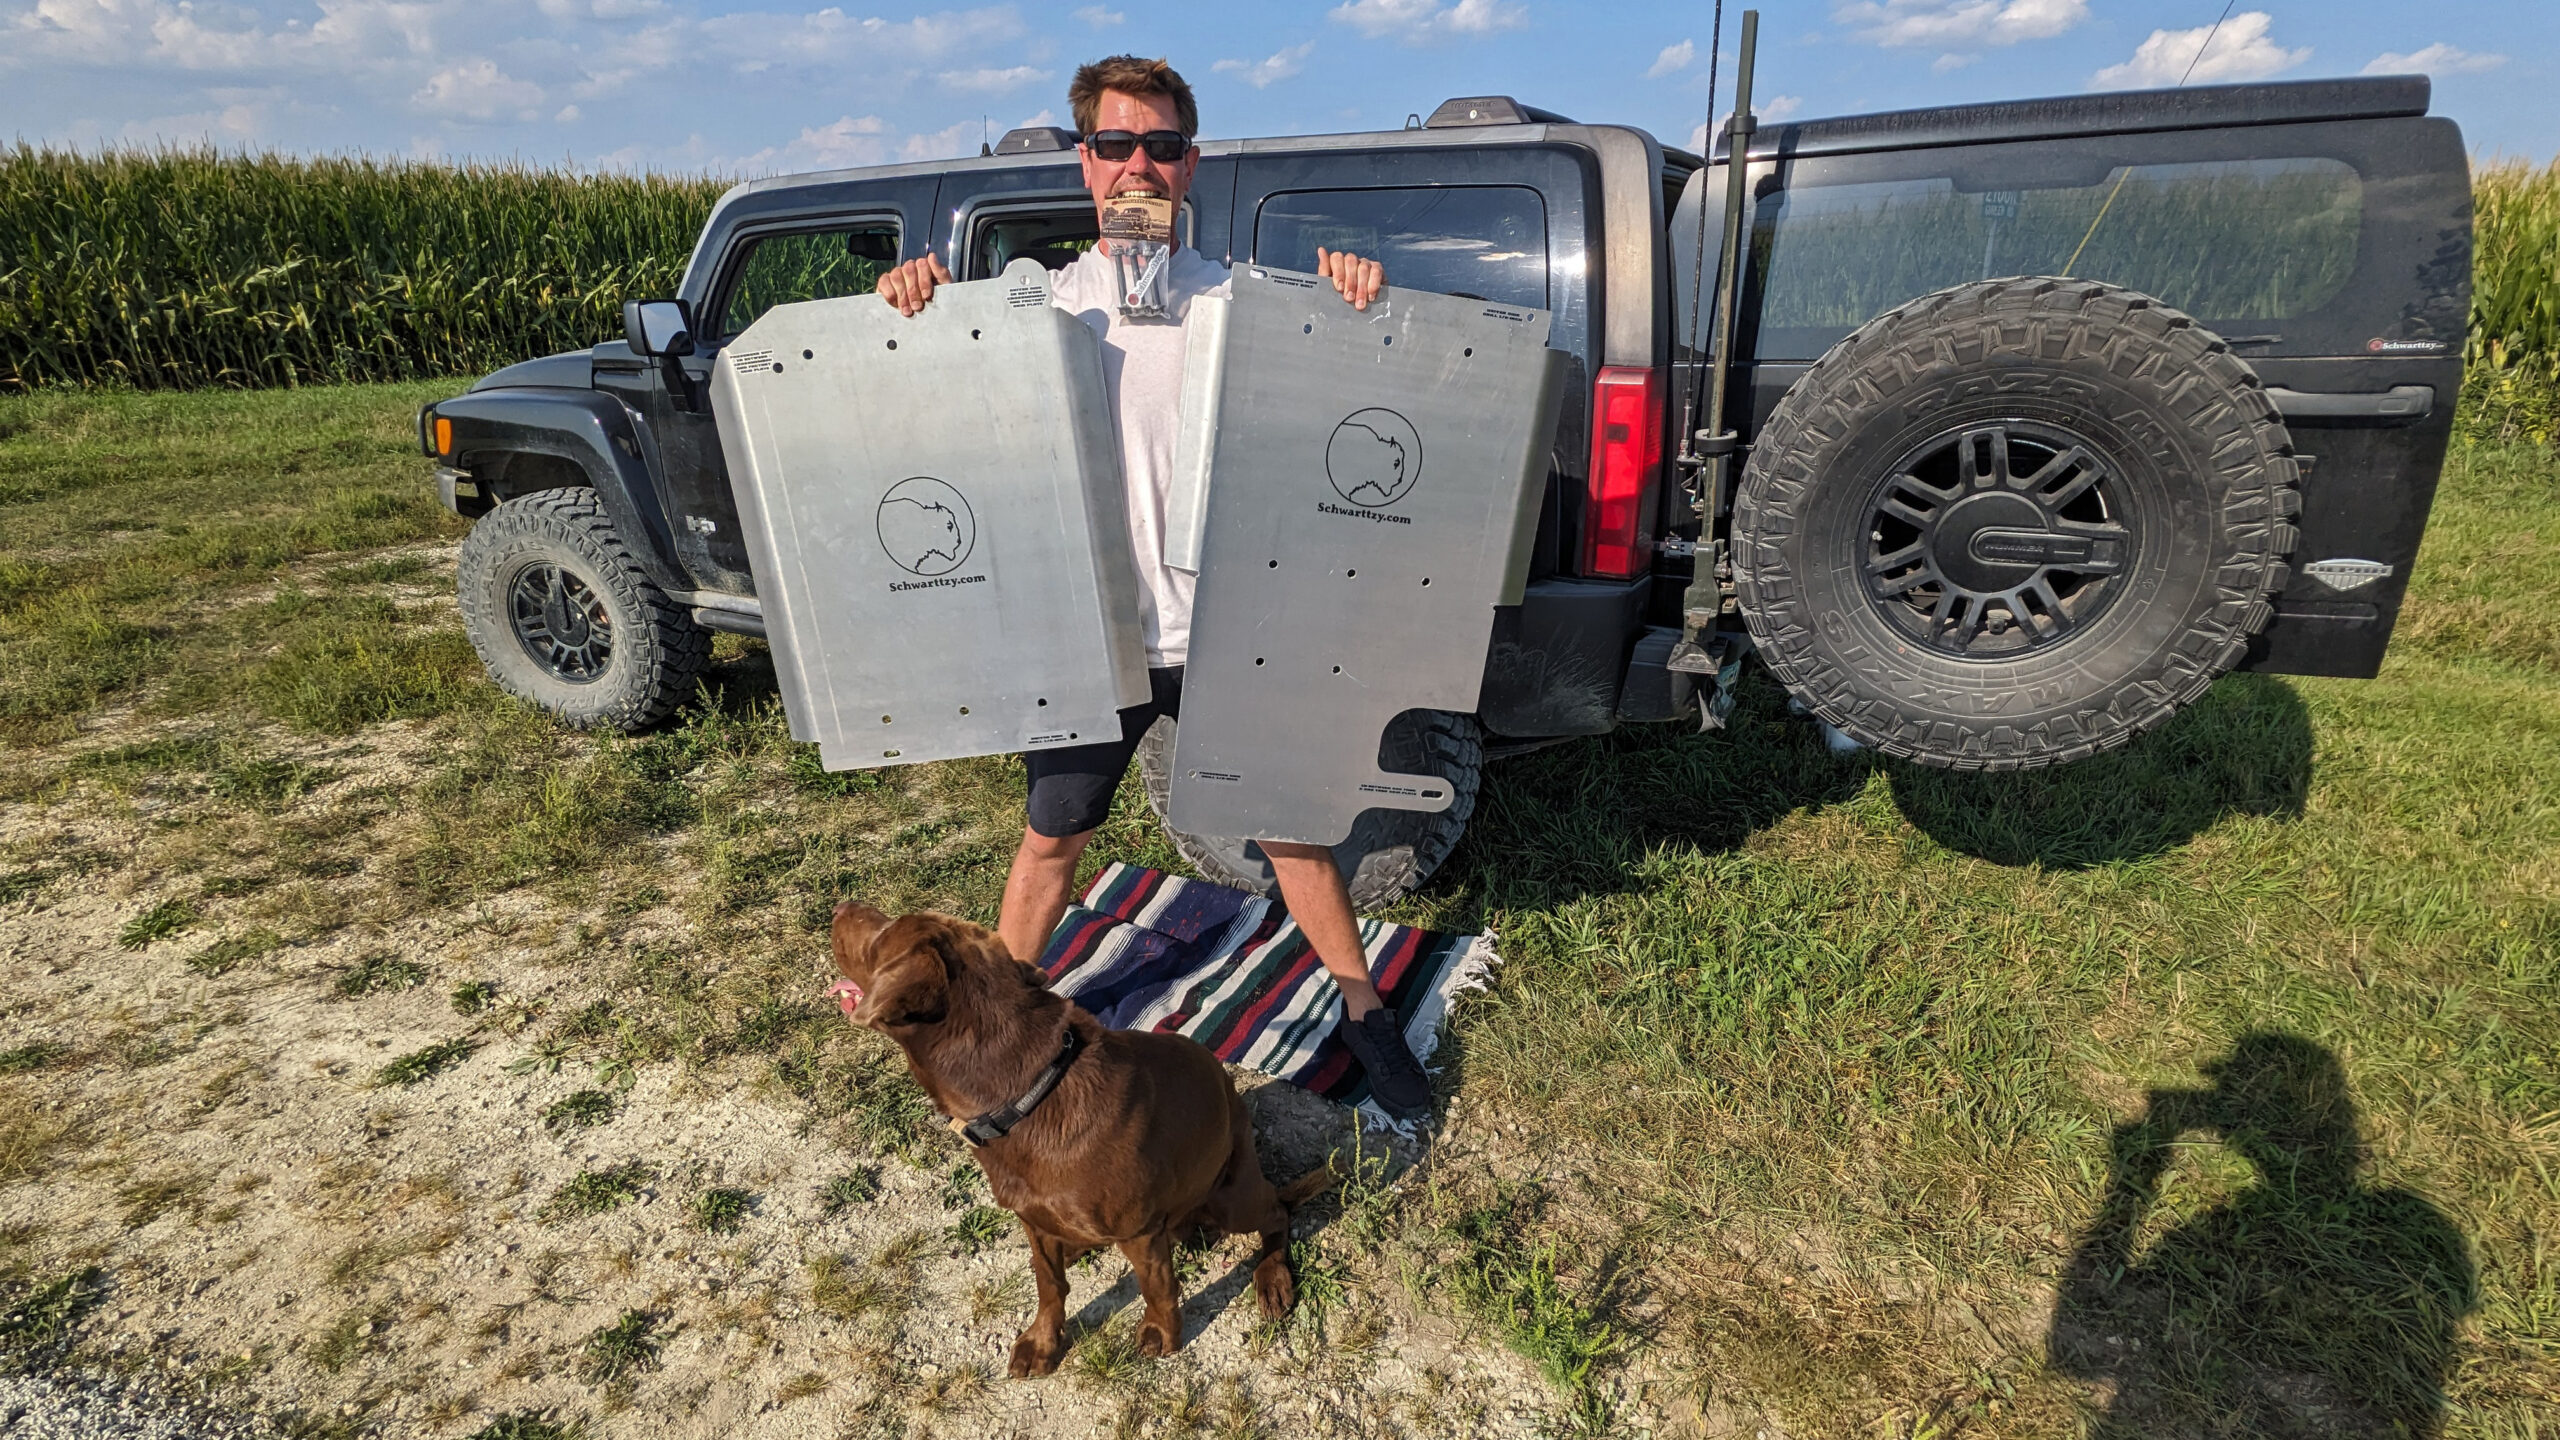


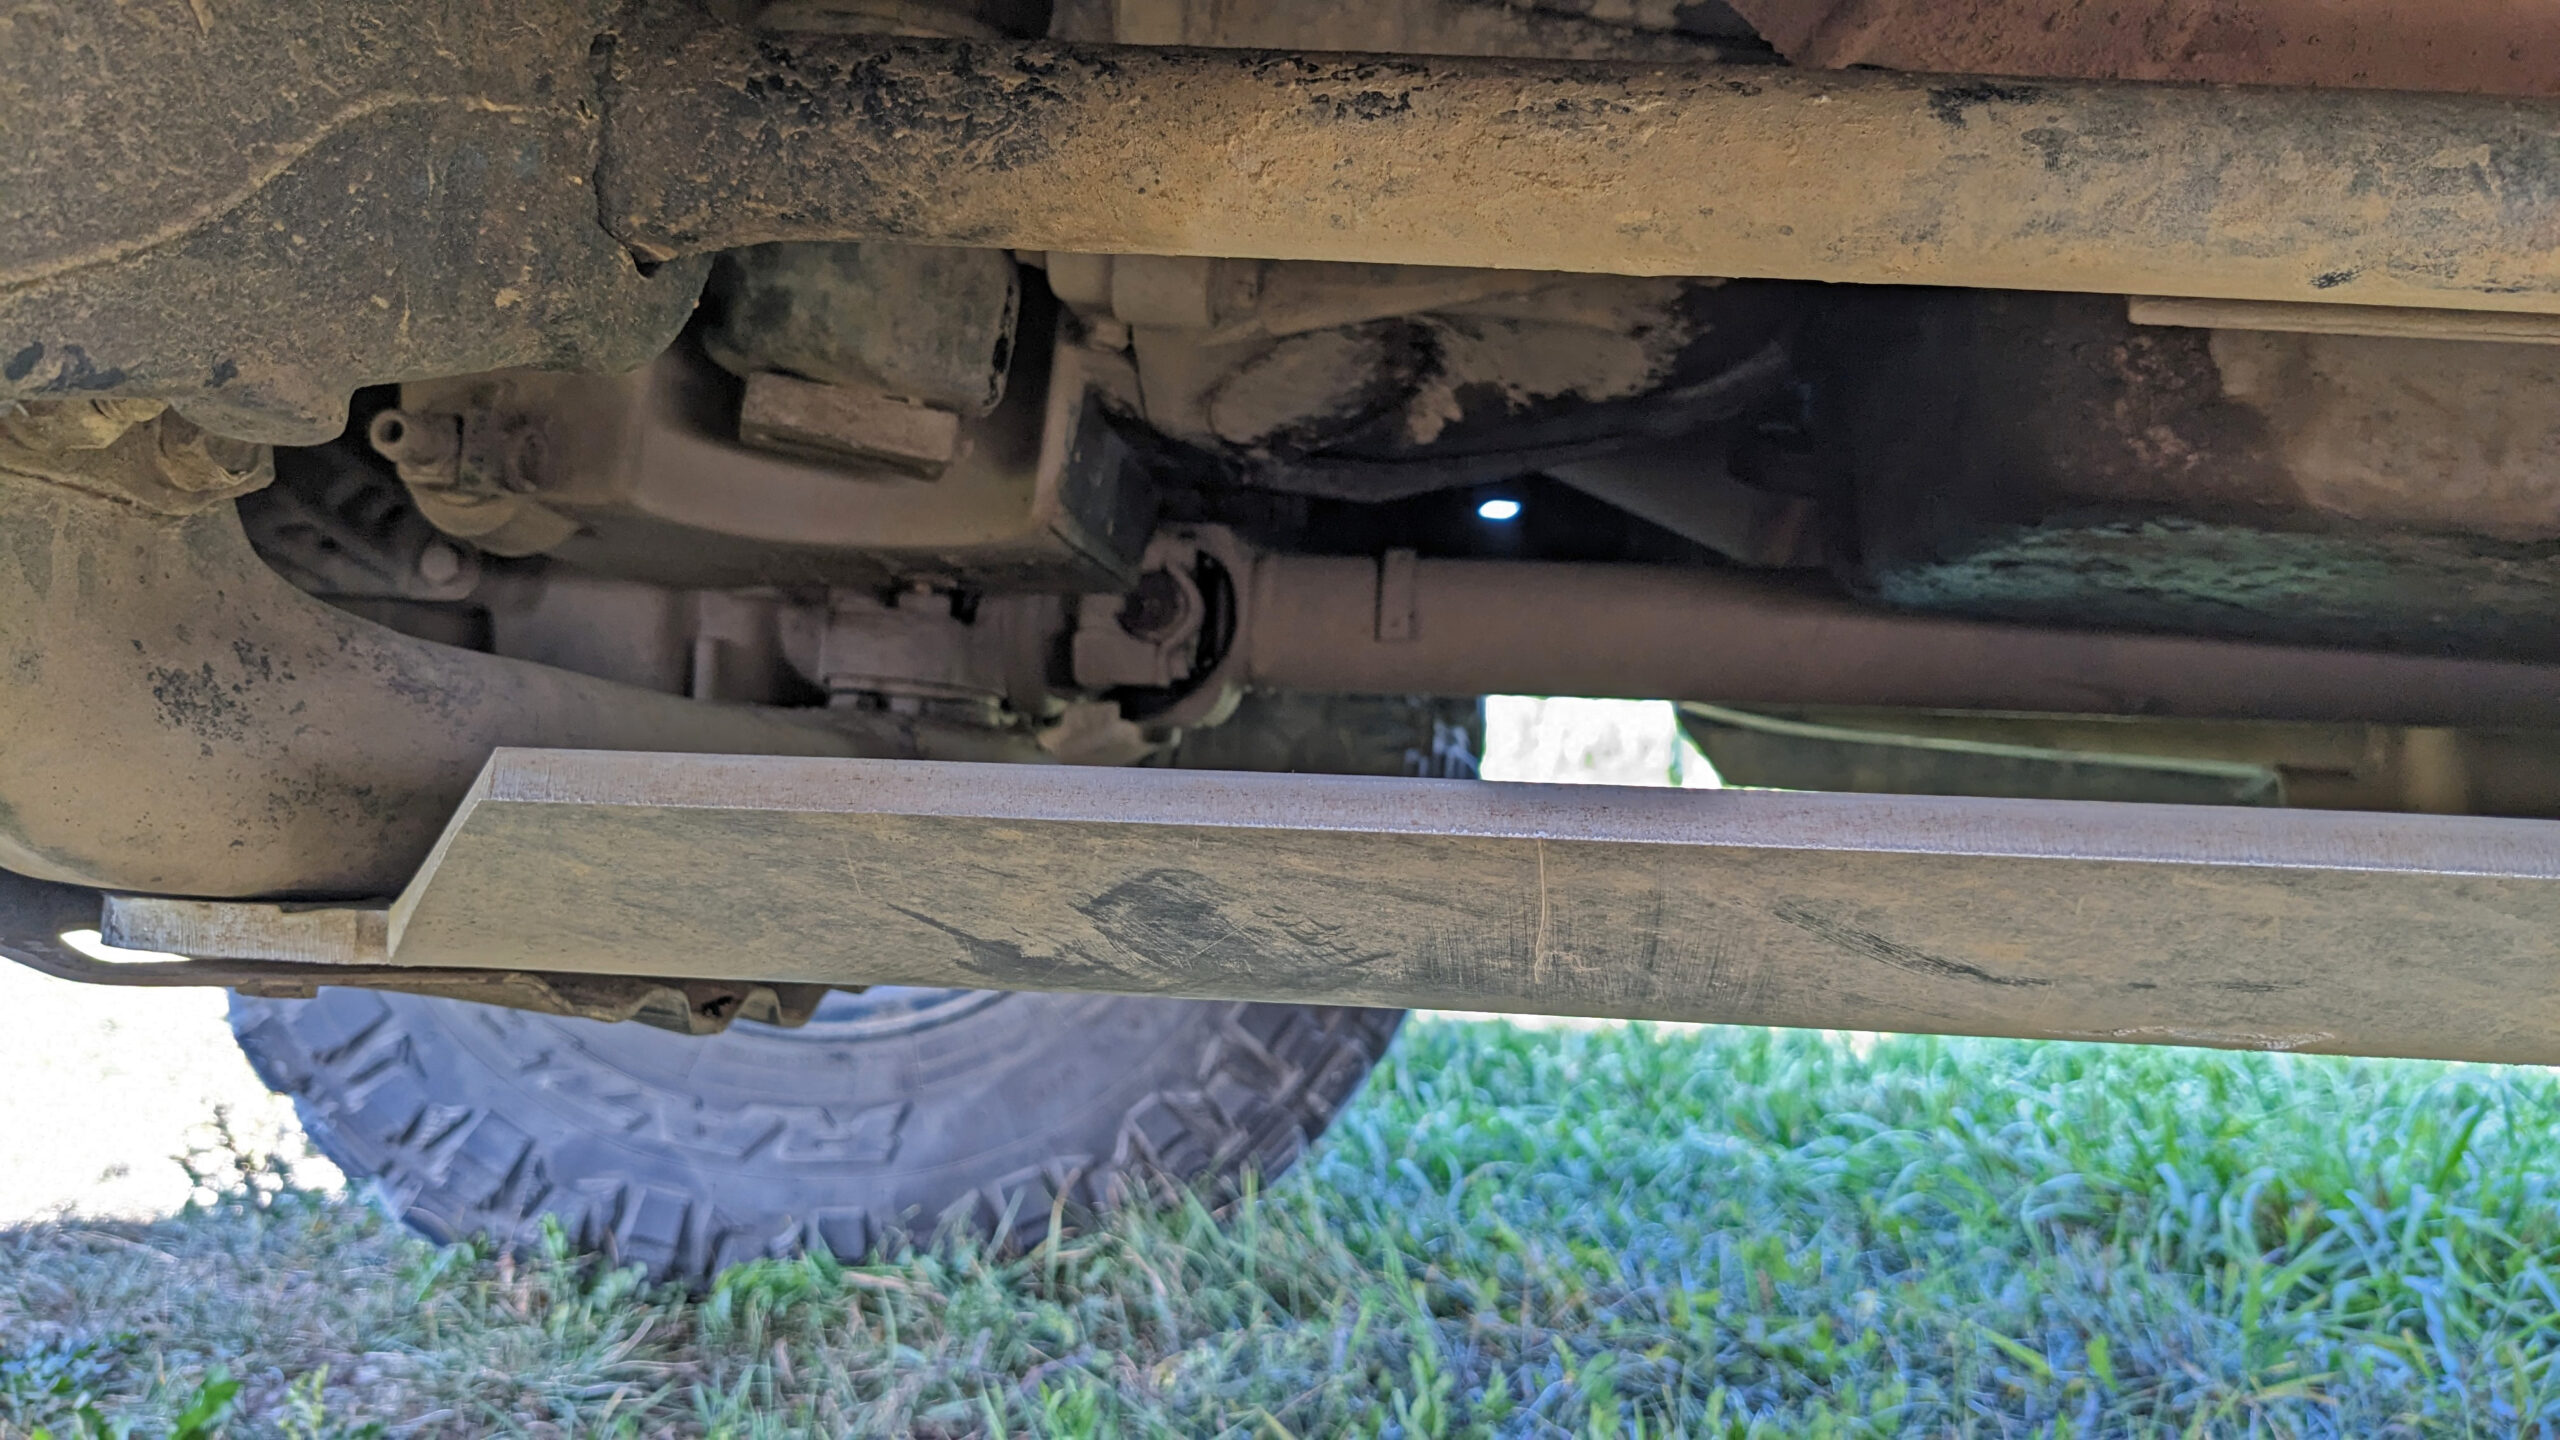


These skid plates measure an impressive 4 feet in length and 2 feet in width and offer extensive coverage, extending beyond the factory Hummer underbody protection. This expansive coverage shields your transmission, transfer case, and fuel tank, ensuring they remain unscathed even when traversing the most unforgiving trails. With Schwarttzy’s H3 Hummer aluminum skid plates, you can tackle any obstacle with peace of mind, knowing your Hummer is equipped for the ultimate off-road experience.
Complete Parts List Includes
- Transmission Skid Plate – Aluminum (Quantity 1) ~27b.
- Transfer Case Skid Plate – Aluminum (Quantity 1) ~40lb.
- Flanged Hex Head, 1/2″-13 Thread Size, 3-1/2″ Long, Grade 8, Black-Phosphate, Steel Bolt (Quantity 3)
- Flanged Hex Nut, 1/2″-13 Thread Size, Grade 8, Black-Phosphate, Steel Nut (Quantity 3)
Oil Change Tricks for No Mess
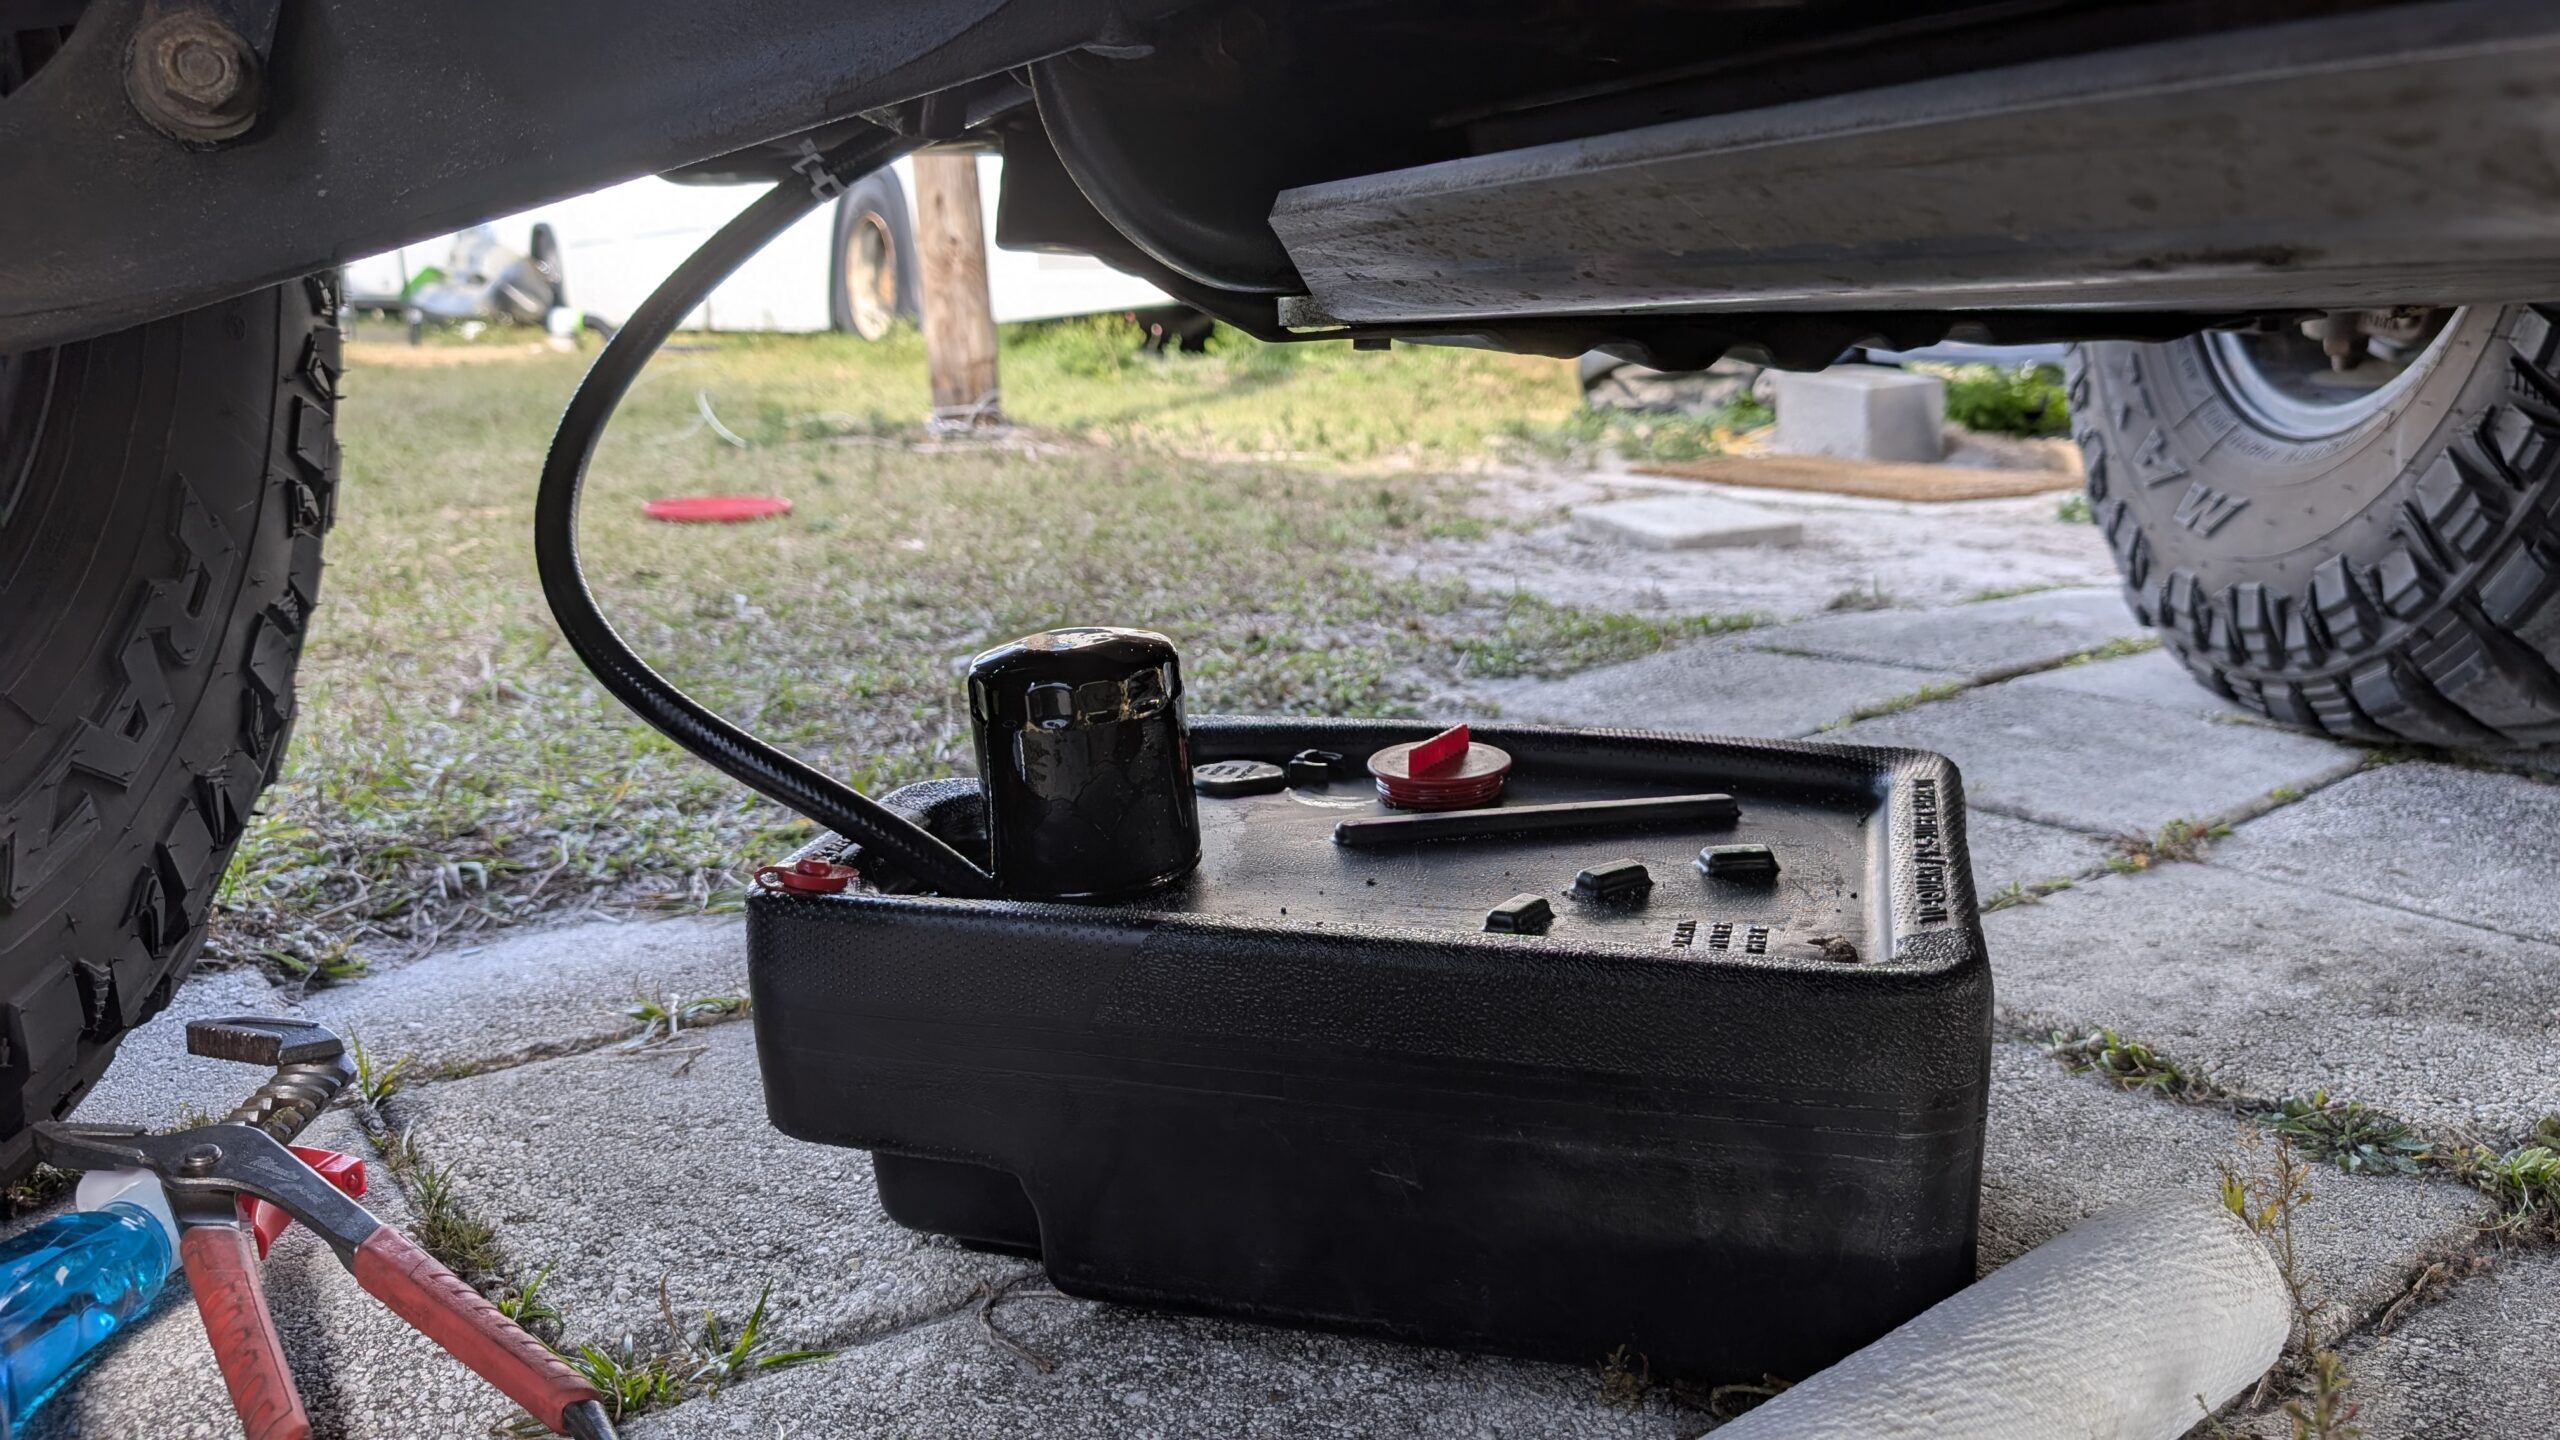
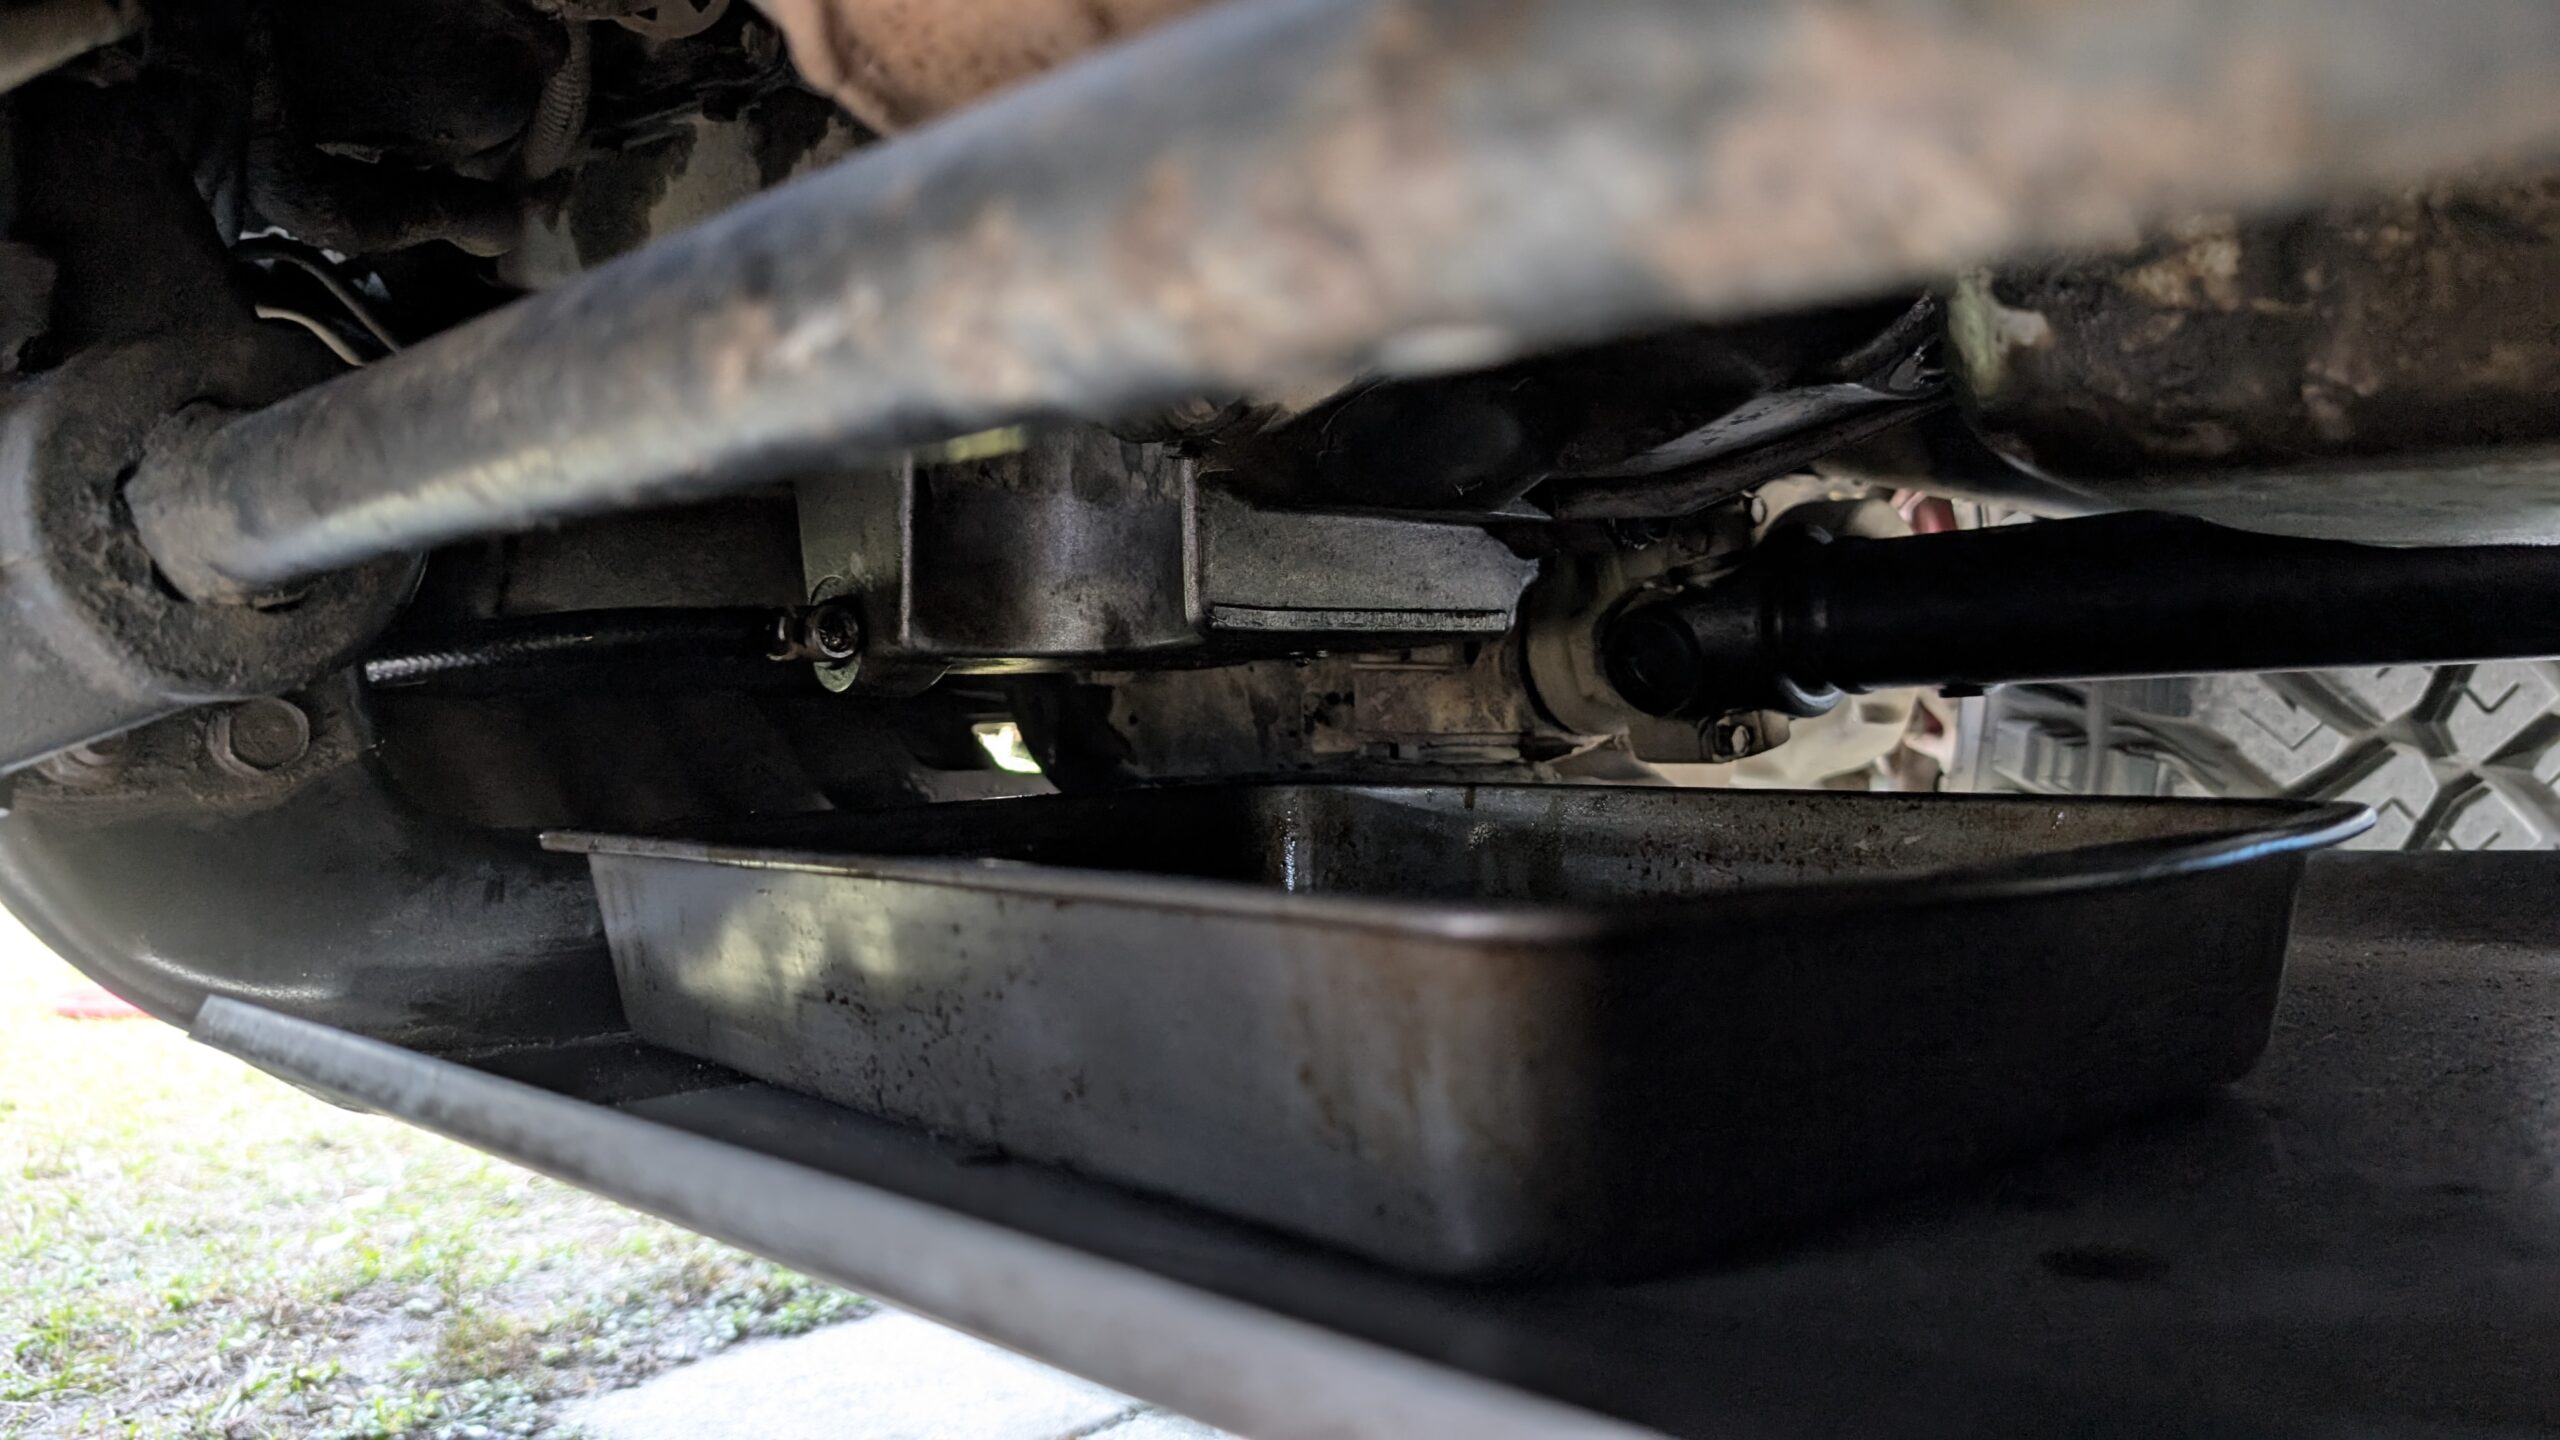
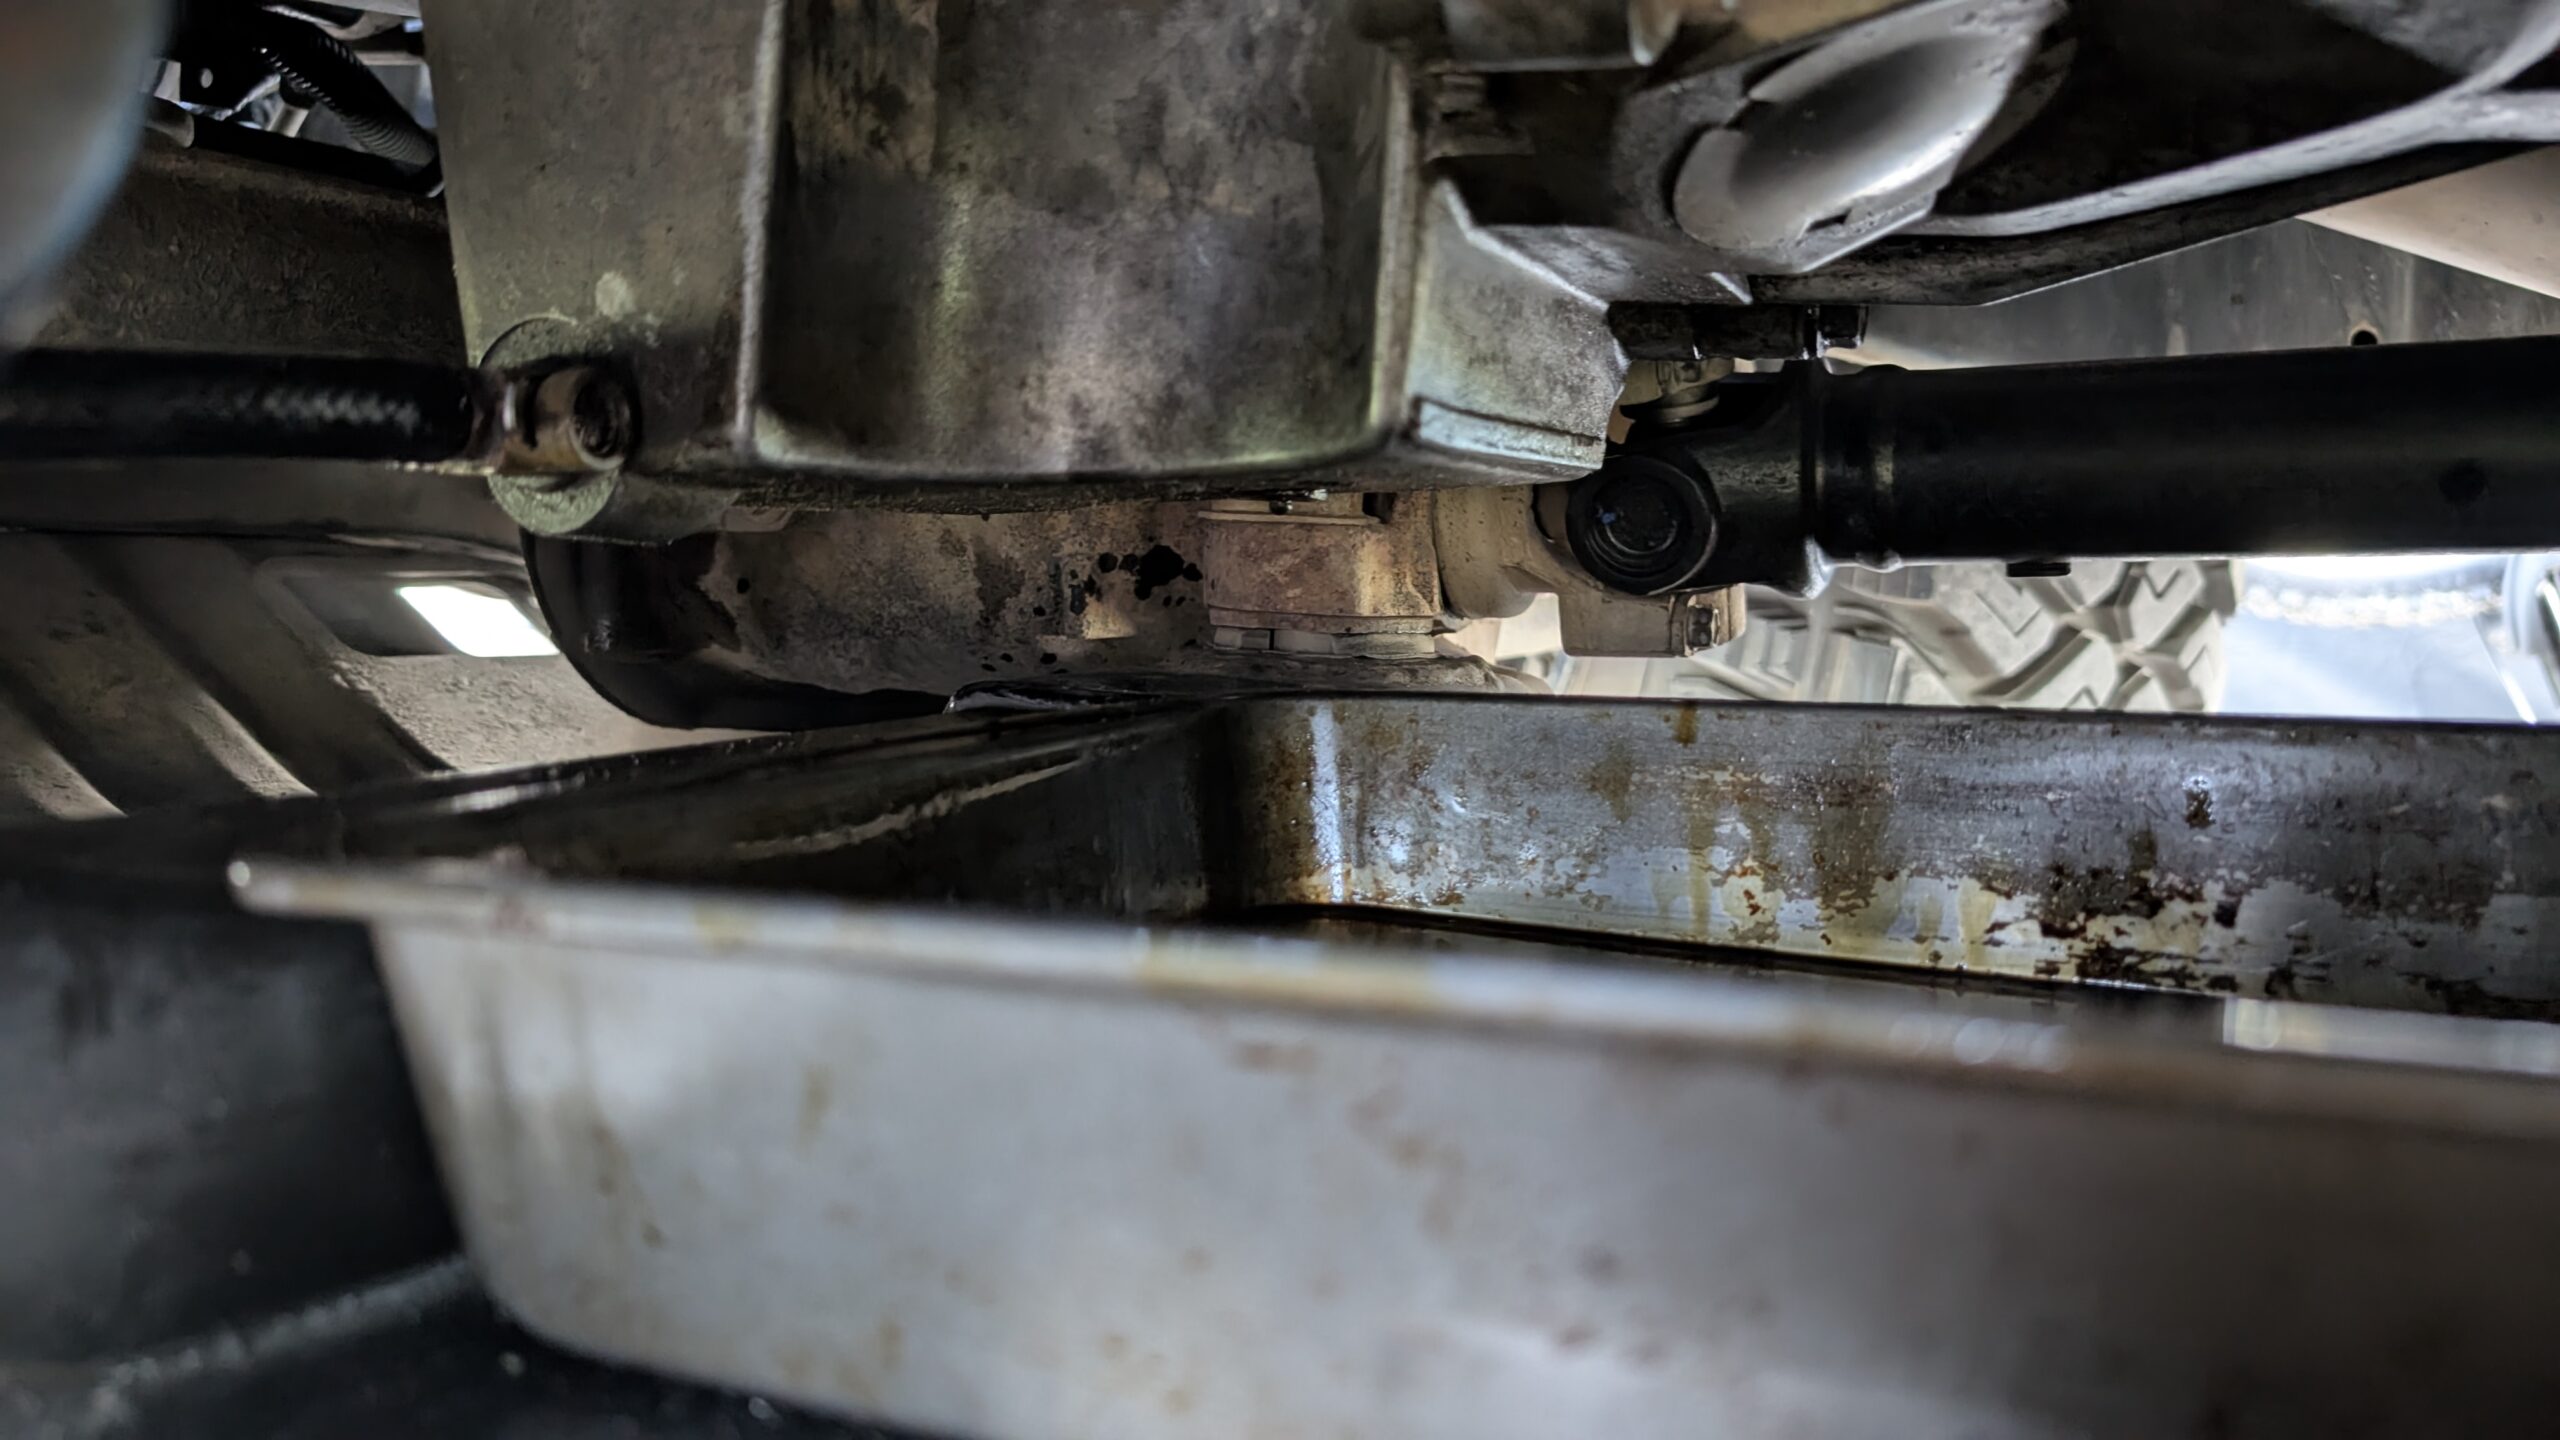
- Fumoto F107N with LC-10 lever clip FN-Series Engine Oil Drain Valve
- 3/8 inch Automotive Hose about 2 Feet long
- Cooking / Baking Tray from Walmart 9″ by 13″ about 2-3″ tall
- A couple of Paper Towels laid on the cross-member
Required Tools
- Drill / Screw Gun
- Nickel Anti-Seize
- PB Blaster
- 1/2 Inch Drill Bit
- Large Crescent Wrench
- 3/4-Inch 6-Sided Socket and Wrench
- A car jack (the one inside the rear tailgate will work just fine)